I decided a few weeks ago that I wanted to make myself a guitar strap. Sure, I could have bought one, but I enjoy crafting and I have a couple of options that I could use right here at home, so why not? The only question remaining was which method I would use.
On the one hand, I could crochet a strap. I’ve got yarn and crochet needles and the know-how to knot out a strap. But I found the other option to be more attractive, perhaps, more rock-n-roll – leather.
And it’s been a while since I did any leathercrafting – too long, I say!
I found a video on YouTube that detailed the kind of strap I wanted to make – one that doesn’t require hardware: https://www.youtube.com/watch?v=2rhxPX9u12k
I don’t have all the tools that would be ideally used in constructing the strap, but I have enough tools to get the job done. I copied down the pattern and the general measurements onto a post-it note, and then I realized I needed some really long paper to make a pattern.
I measured a piece of cardboard that was lying around the house, but it was only 16 inches and I needed 22 for my small piece and 36 for the large. There followed a brief scramble around the apartment while I tried to figure out what I could possibly use until I remembered that I bought wrapping paper for Christmas presents last year and hardly used any of it.
The cool thing about using this wrapping paper was that the reverse side has a grid, which really helped with getting the straightedge lined up nicely for drawing my pattern. Once I drew the rough pattern out, I cut it – very carefully, because wrapping paper is pretty fragile.
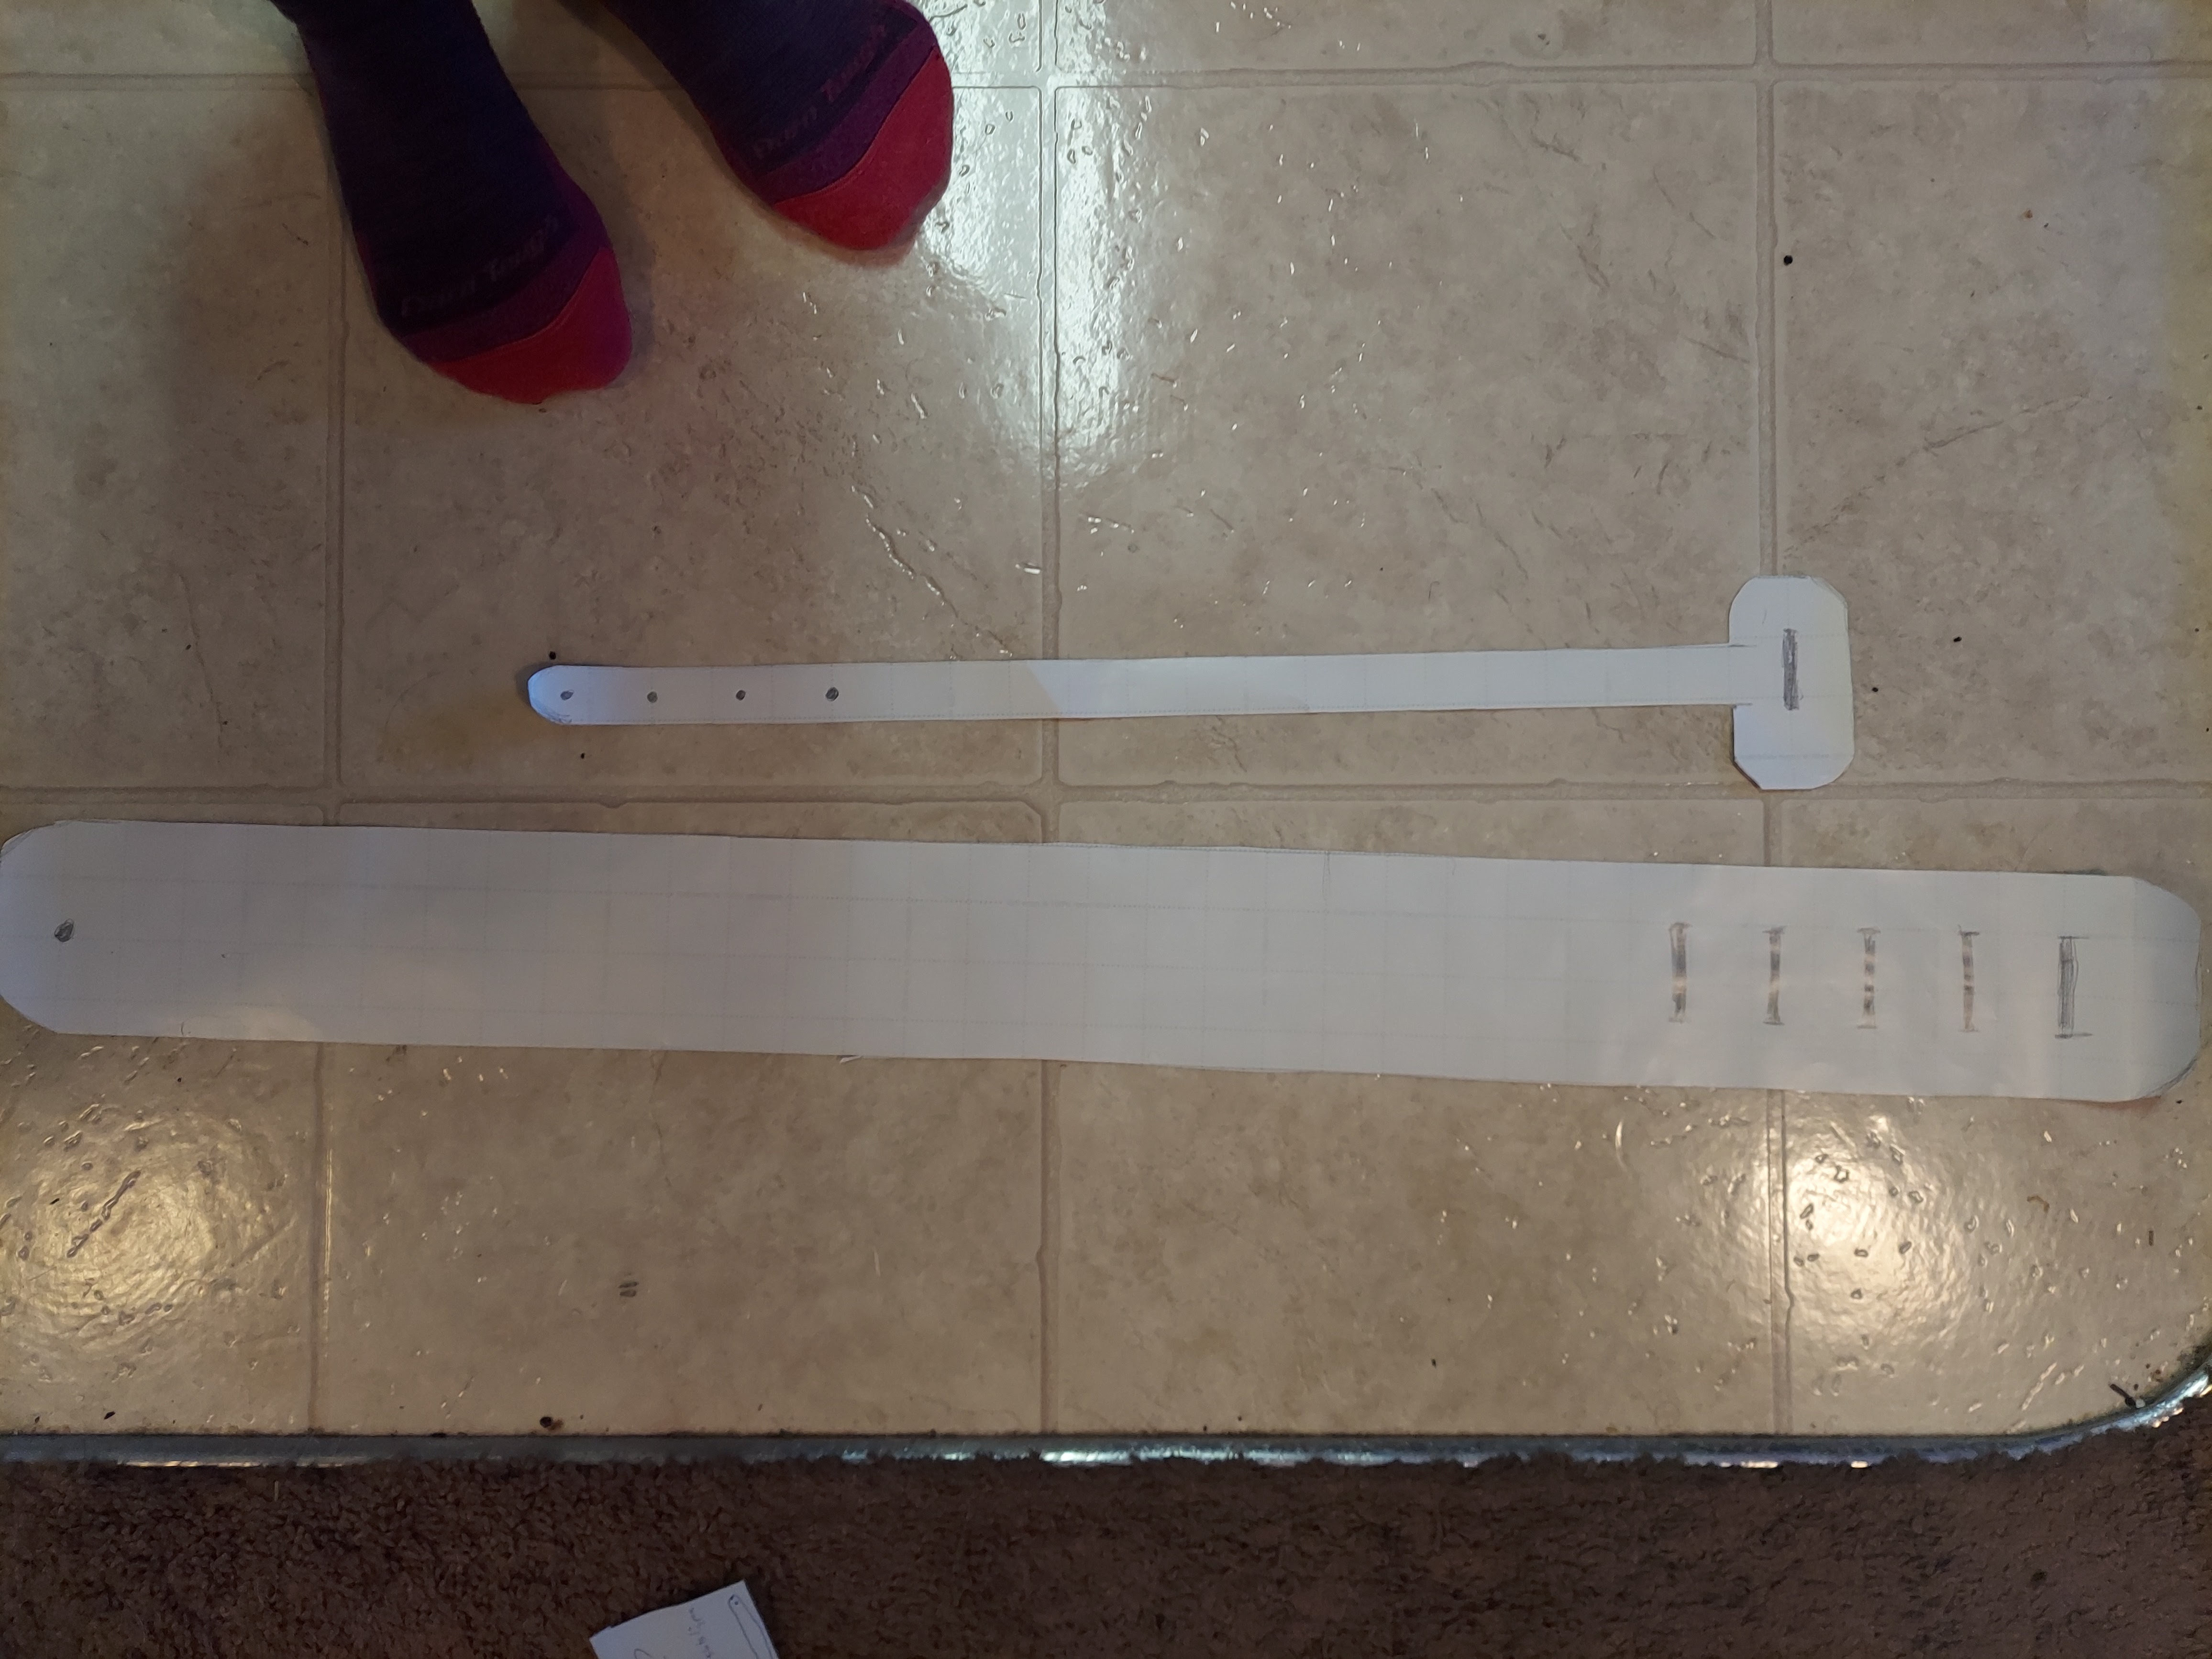 |
| Wrapping paper patterns. |
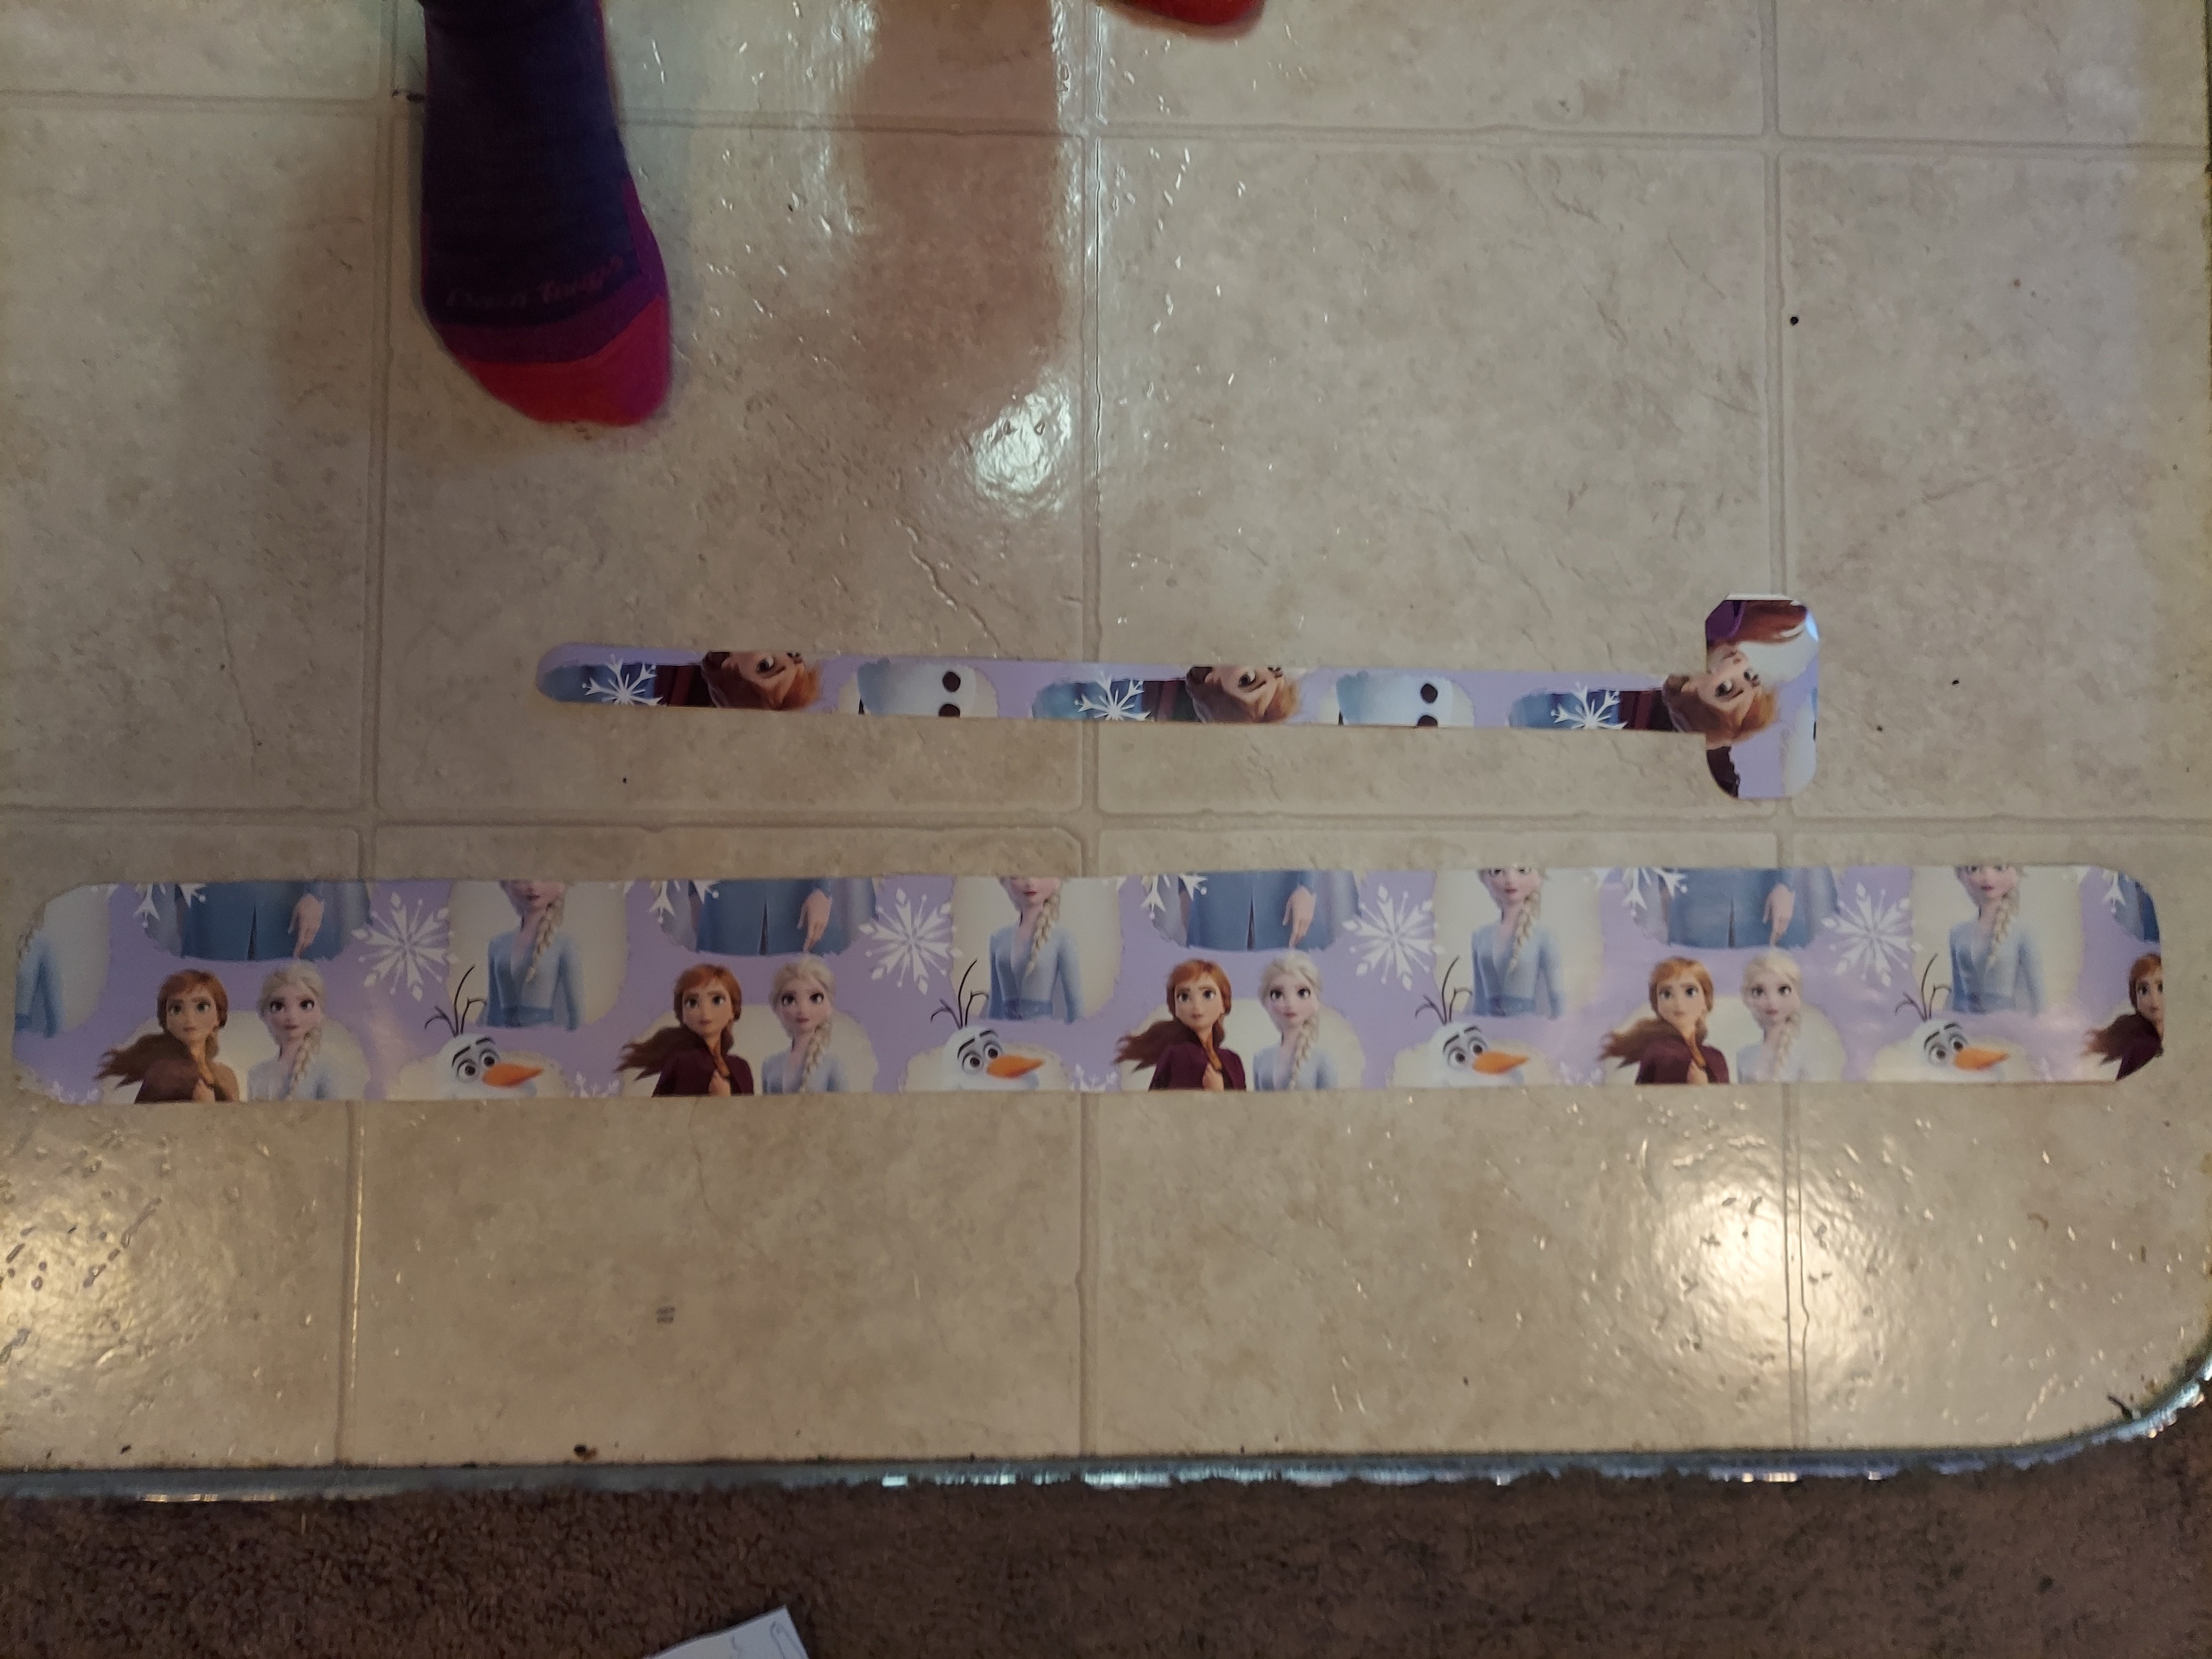 |
| Yes, it was Frozen wrapping paper. |
Then came the fun part – time to get the leather!
My husband and I have a bin full of leather that we’ve used over the years for various projects. At this point, most of it is undyed, shades of light brown mostly. But we do have one huge piece that’s purple on one side, and that was the only piece big enough to cut my pattern out of, so purple it was.
I placed the patterns on the leather in a couple different ways before I picked my spot and used scotch tape to affix the patterns to the leather. I didn’t tape them all the way around, but instead did small strategic tapes and then used a permanent marker to draw the outline on the leather itself. In the past, I’ve actually glued my pattern to the leather, but that was for patterns I could print out on a normal printer. I wasn’t going to make my Frozen-wrapping-paper patterns unusable if I wanted to try again!
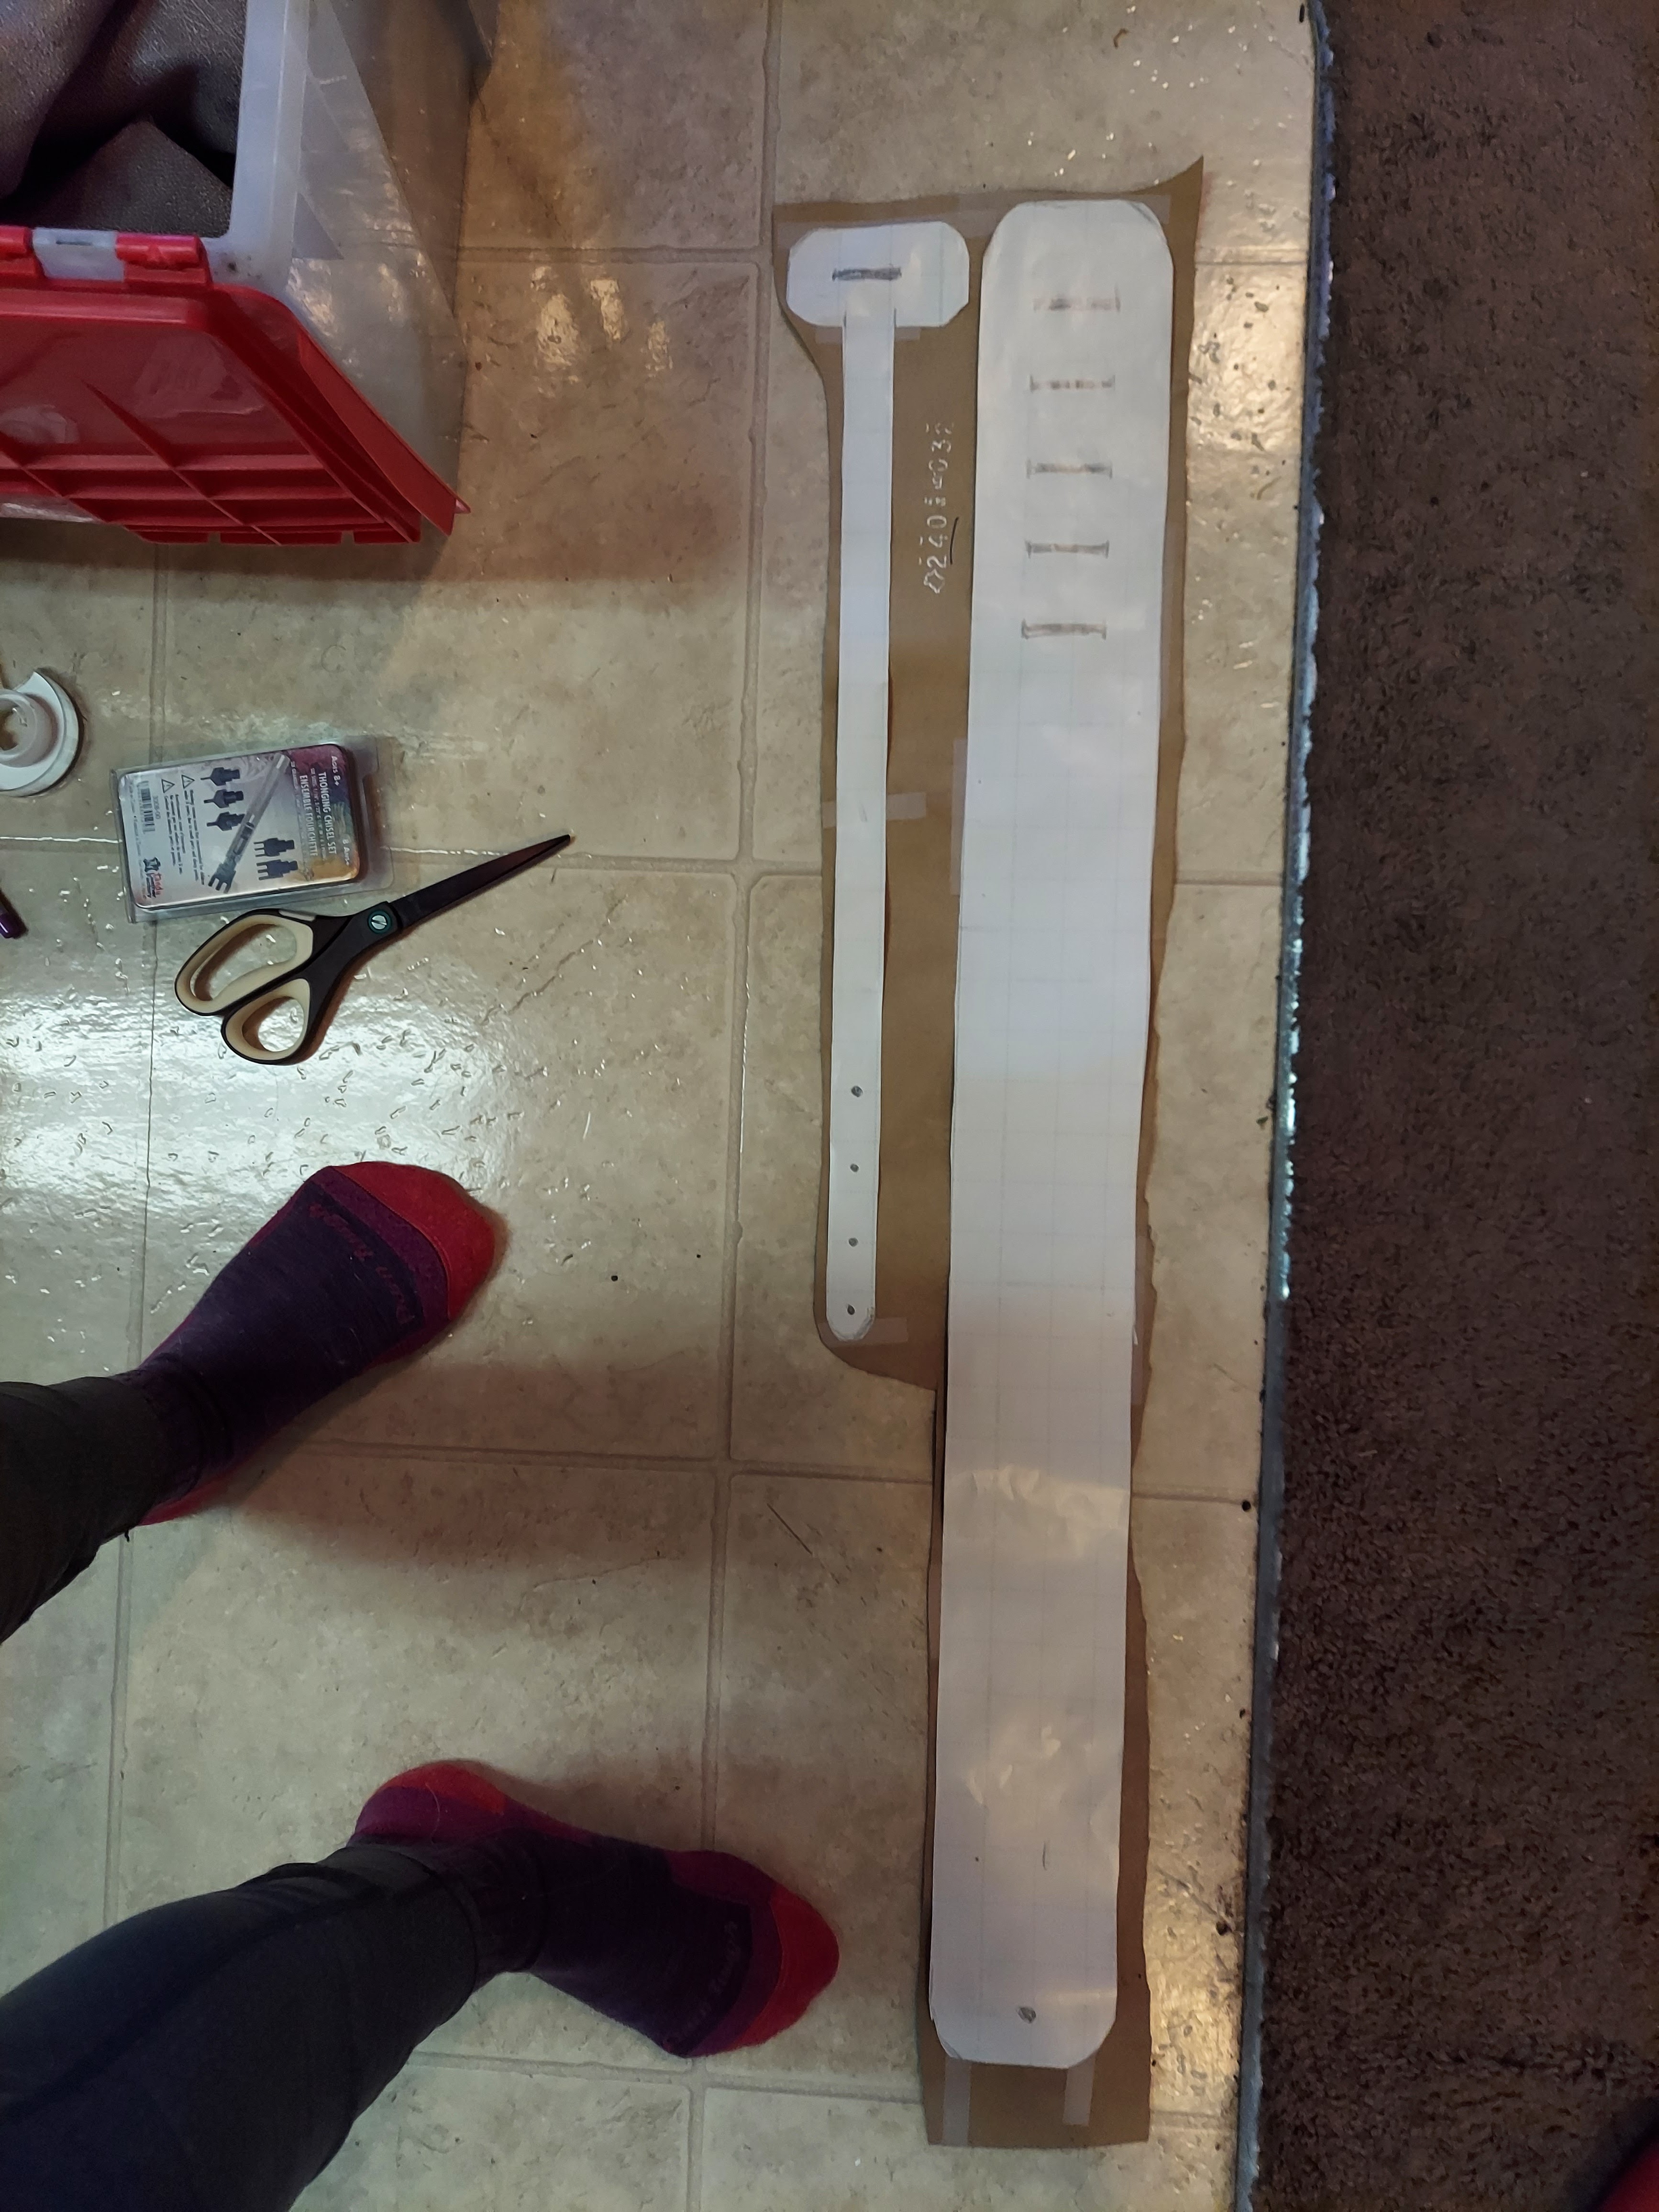 |
| Patterns taped down, thonging/chisel set next to the scissors and ready to go. |
I also used the marker to punch through the paper at key points to mark where holes would need to be made. Probably would have been easier to cut those from the paper, but I had already taped the patterns down – poor planning on my part. Then I cut the pieces out of the main body of the leather and then cut them apart. Finally, I cut out the actual leather pieces.
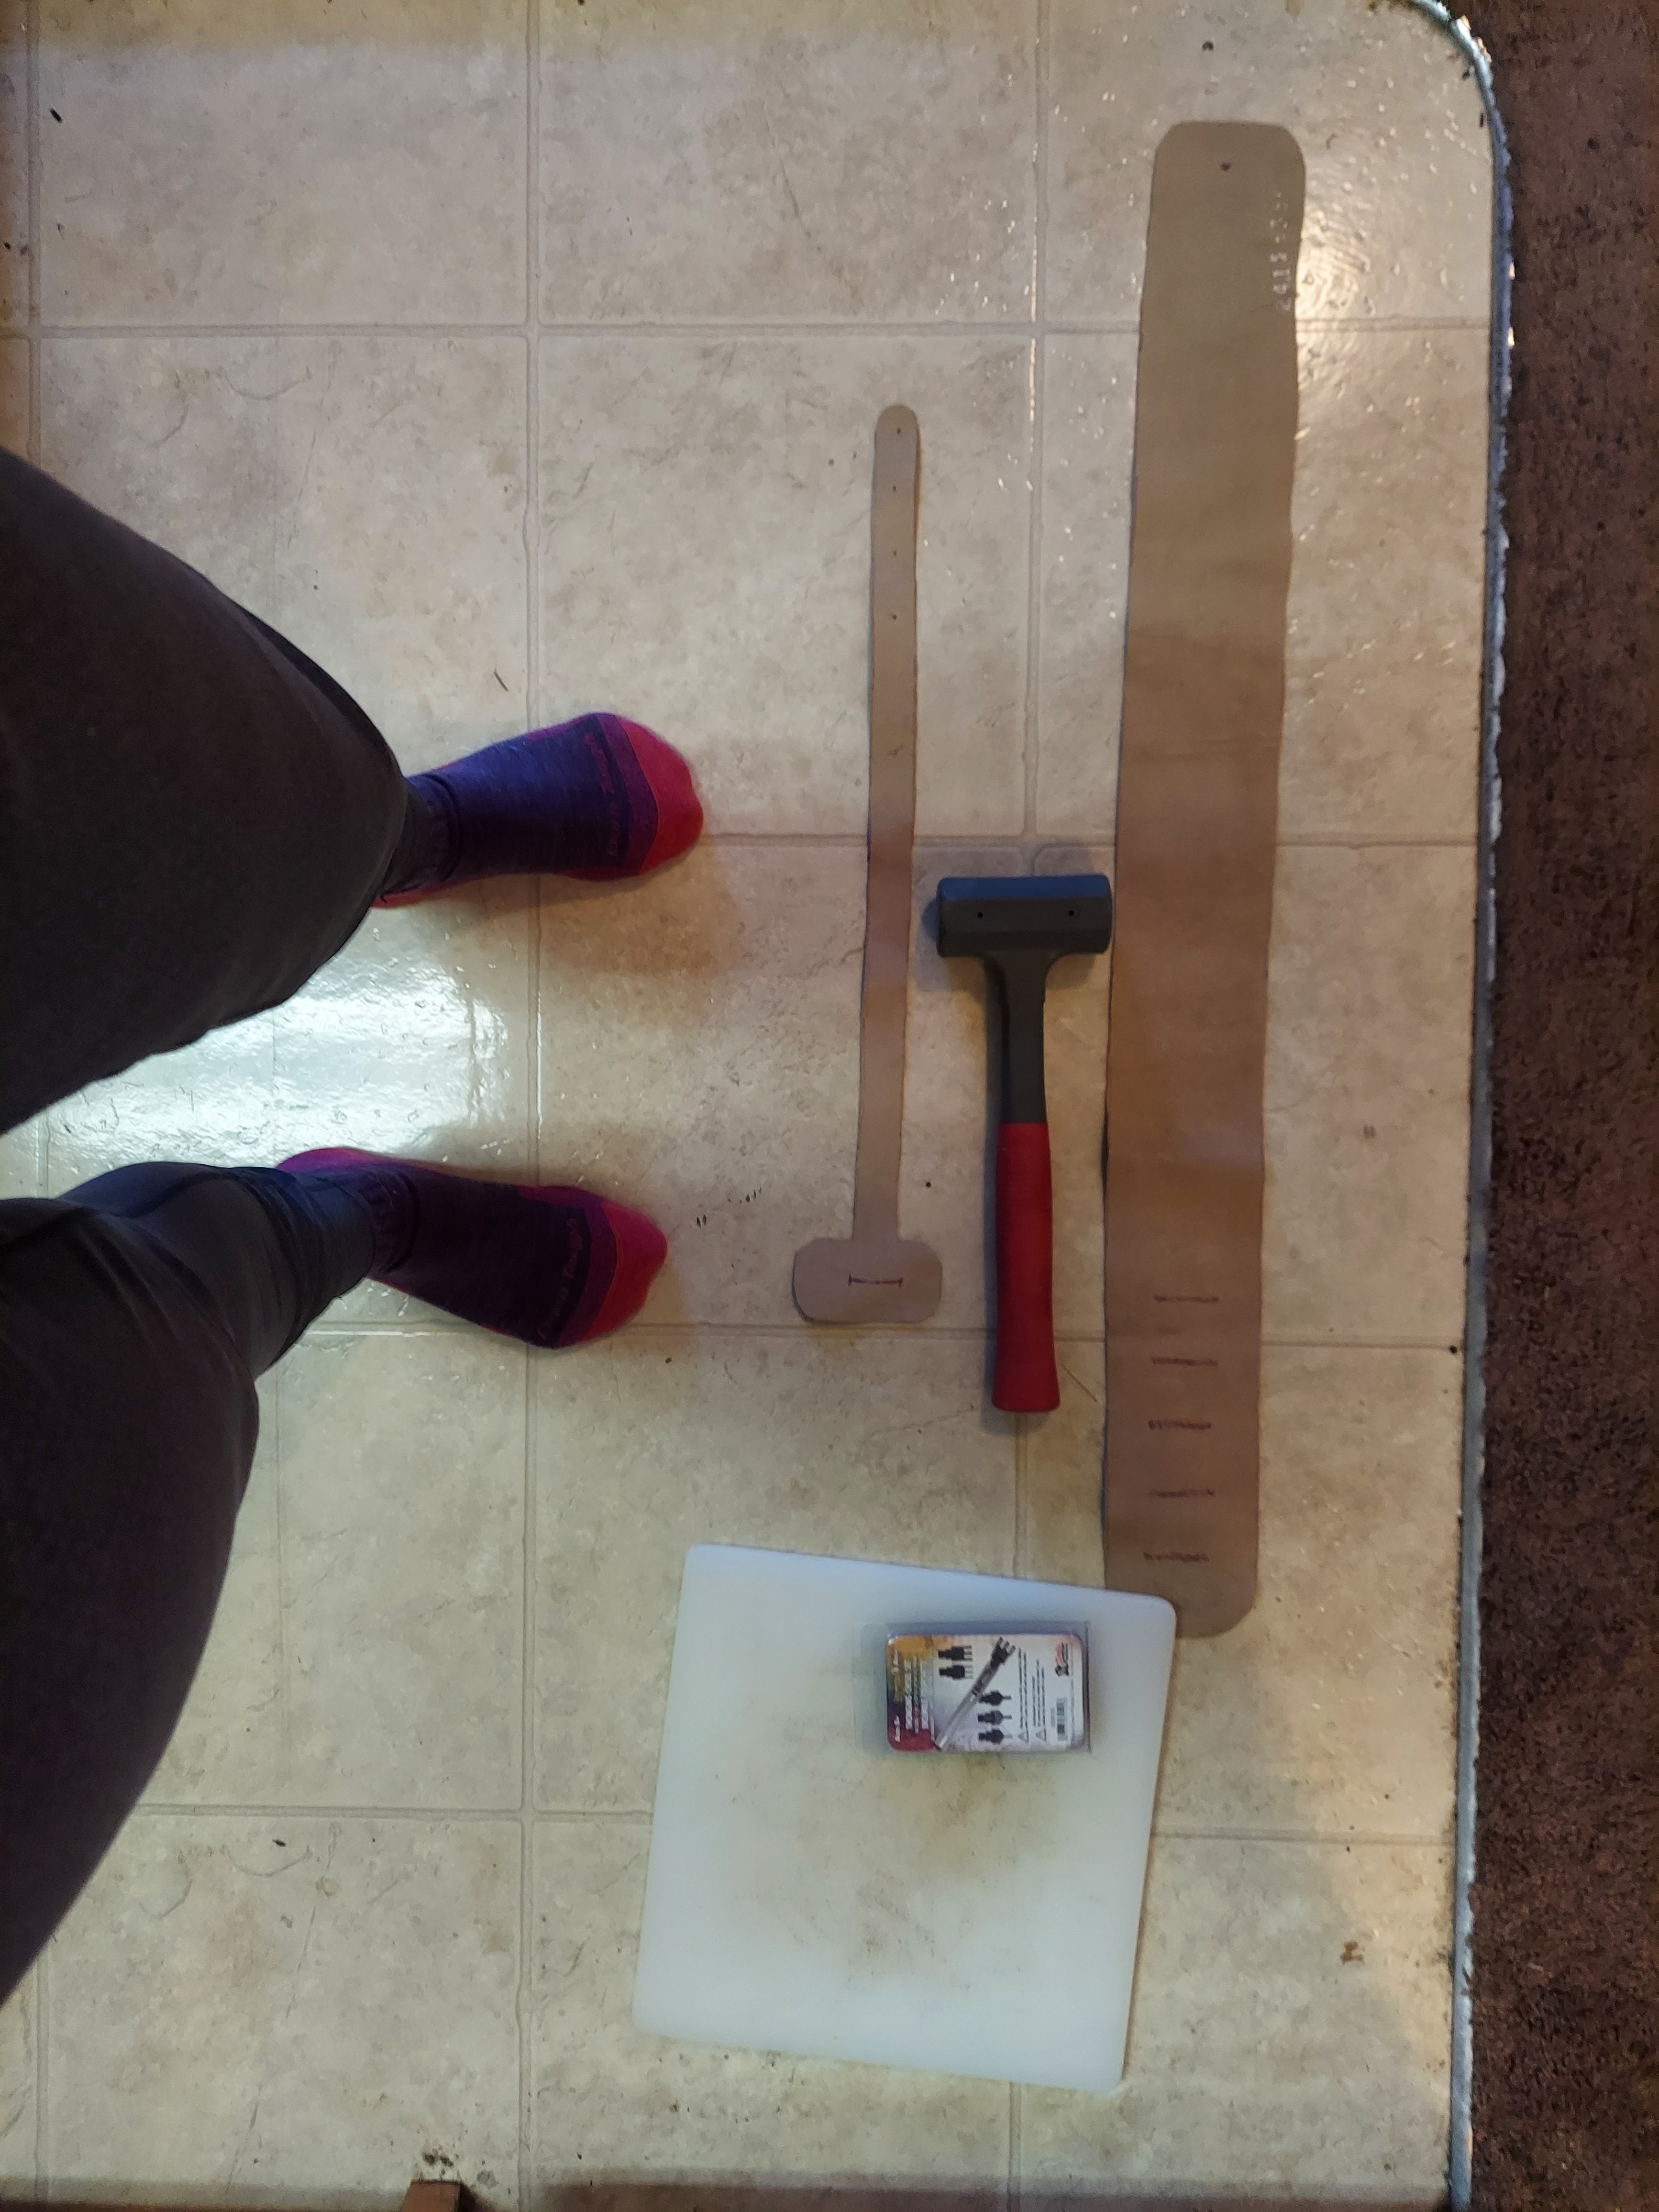 |
| Now we’re ready to chisel! |
Now I had two long pieces of leather, and all that was left was the cutting of the holes. This part actually took the longest because I don’t have a hole puncher at the moment, so I was using a thonging/chisel set to make little round holes and longer slots. That part was hard and finicky, because every hole required many cuts due to the size and shape of my chisel. I used a bigger chisel for the slots, but it still required multiple stabs and I had to finish it with the small chisel anyway.
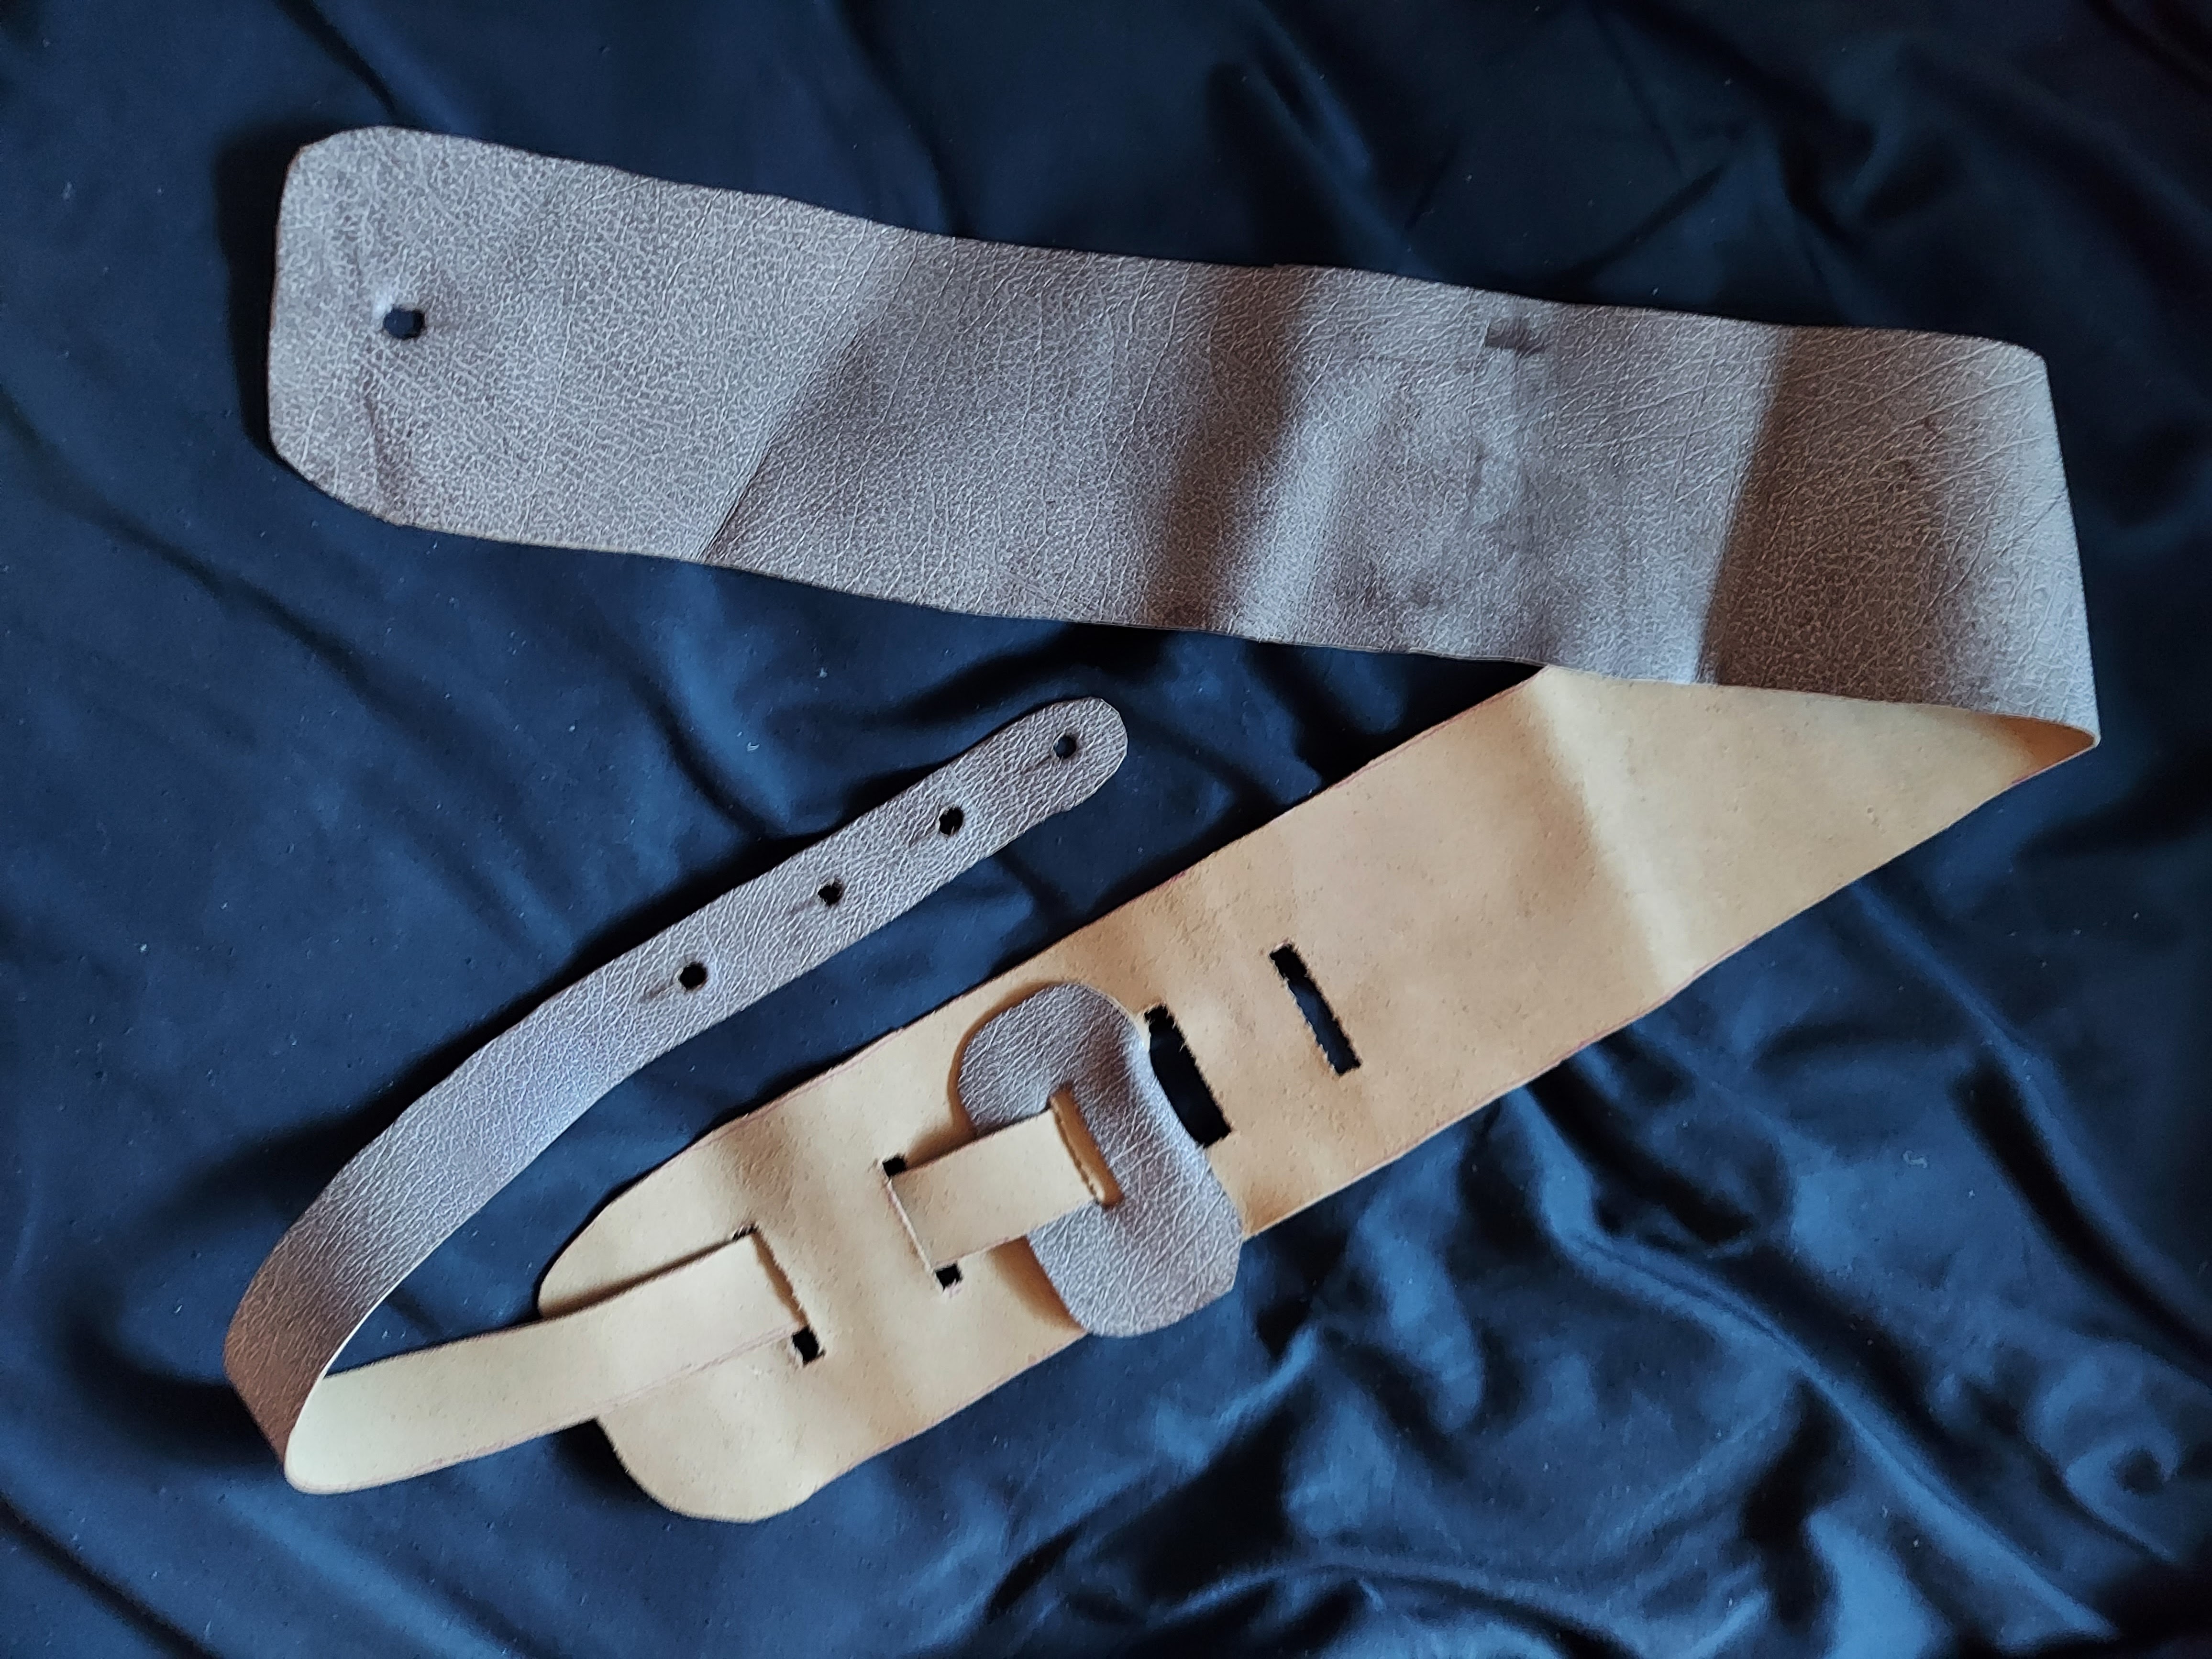 |
| It fits together. |
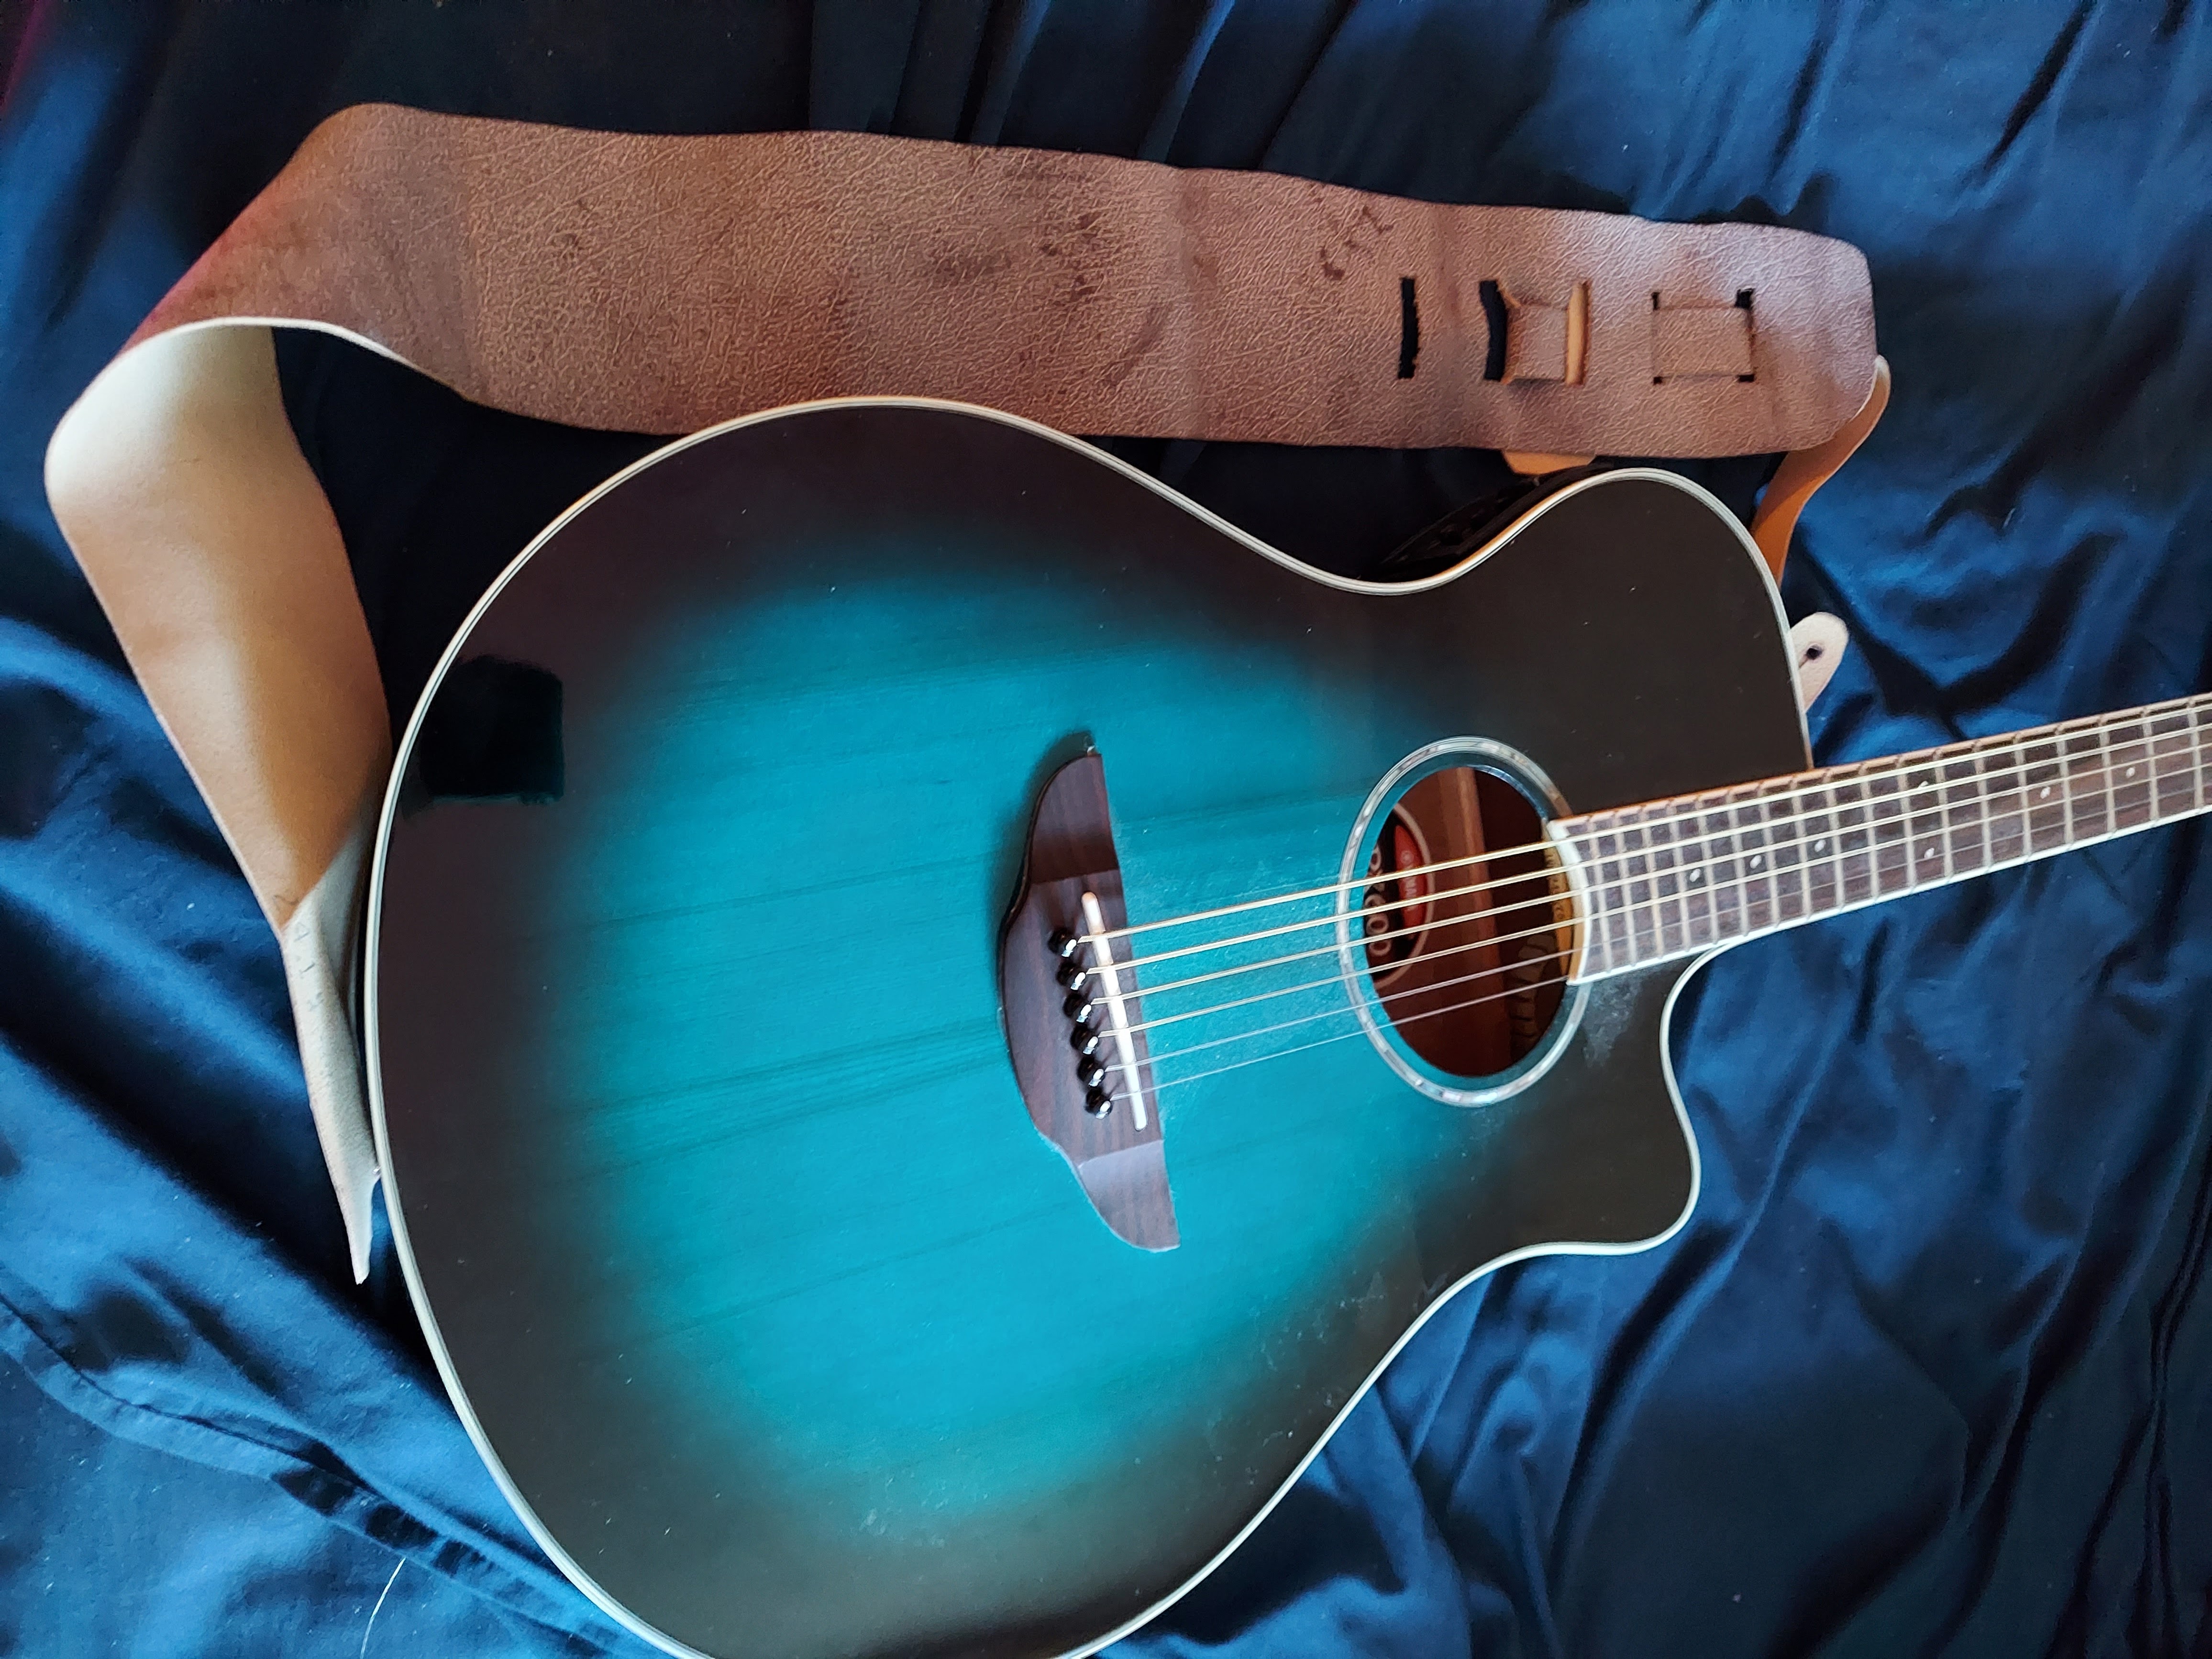 |
| It fits the guitar. |
But it worked! I think I might add some additional holes so I can adjust the length to be a bit shorter, but it really works. And sure, I could have bought one, but that wouldn’t have been nearly as much fun.
 |
| And it fits me! |