I’ve been working on a new map case for a while now. Not that there’s anything particularly wrong with my current map case, but over the winter Ambrose bought some special material for me to build the case with. Naturally, I only worked on it on and off until this past weekend when I finally hammered down on building the prototype.
See, it’s not just a map case for me. It’s my At Hand bag. Sure, it mostly holds my maps so that they can be reached easily, but also other stuff that I want to keep relatively at hand. I’ve taken to keeping my Kindle in it (if I take my Kindle), because it’s the place least likely to get squished. Along with the maps, I also keep pen and paper handy for writing notes. And if I’m hiking along and getting too warm for my layers, I can temporarily stuff taken off layers into the bag (or otherwise attach them, like wrapping a buff around the strap). That way I don’t have to stop hiking and stow them properly in my pack; I can keep moving until break time arrives.
The material I’m now working with is Dyneema from Ripstop by the Roll. It seems like it should be too flimsy to hold up to much, unlike the birdseed bags I’ve worked with in the past. But, advantage, it’s also blue instead of being covered with birdseed bag illustrations and text. I might miss reading about the maximum moisture content of the birdseed, but I think I can live with that.
On Saturday, I finally took the template I had cut out months ago and sewed up the sides – most of the way. I’ve left a small space at the bottom so that water can get out, should it get in. This does limit the bag’s utility to objects larger than those holes (one on each side), but my solution is that I don’t put little things in there. Anything that little can fit in one of my pockets if I need it at hand.

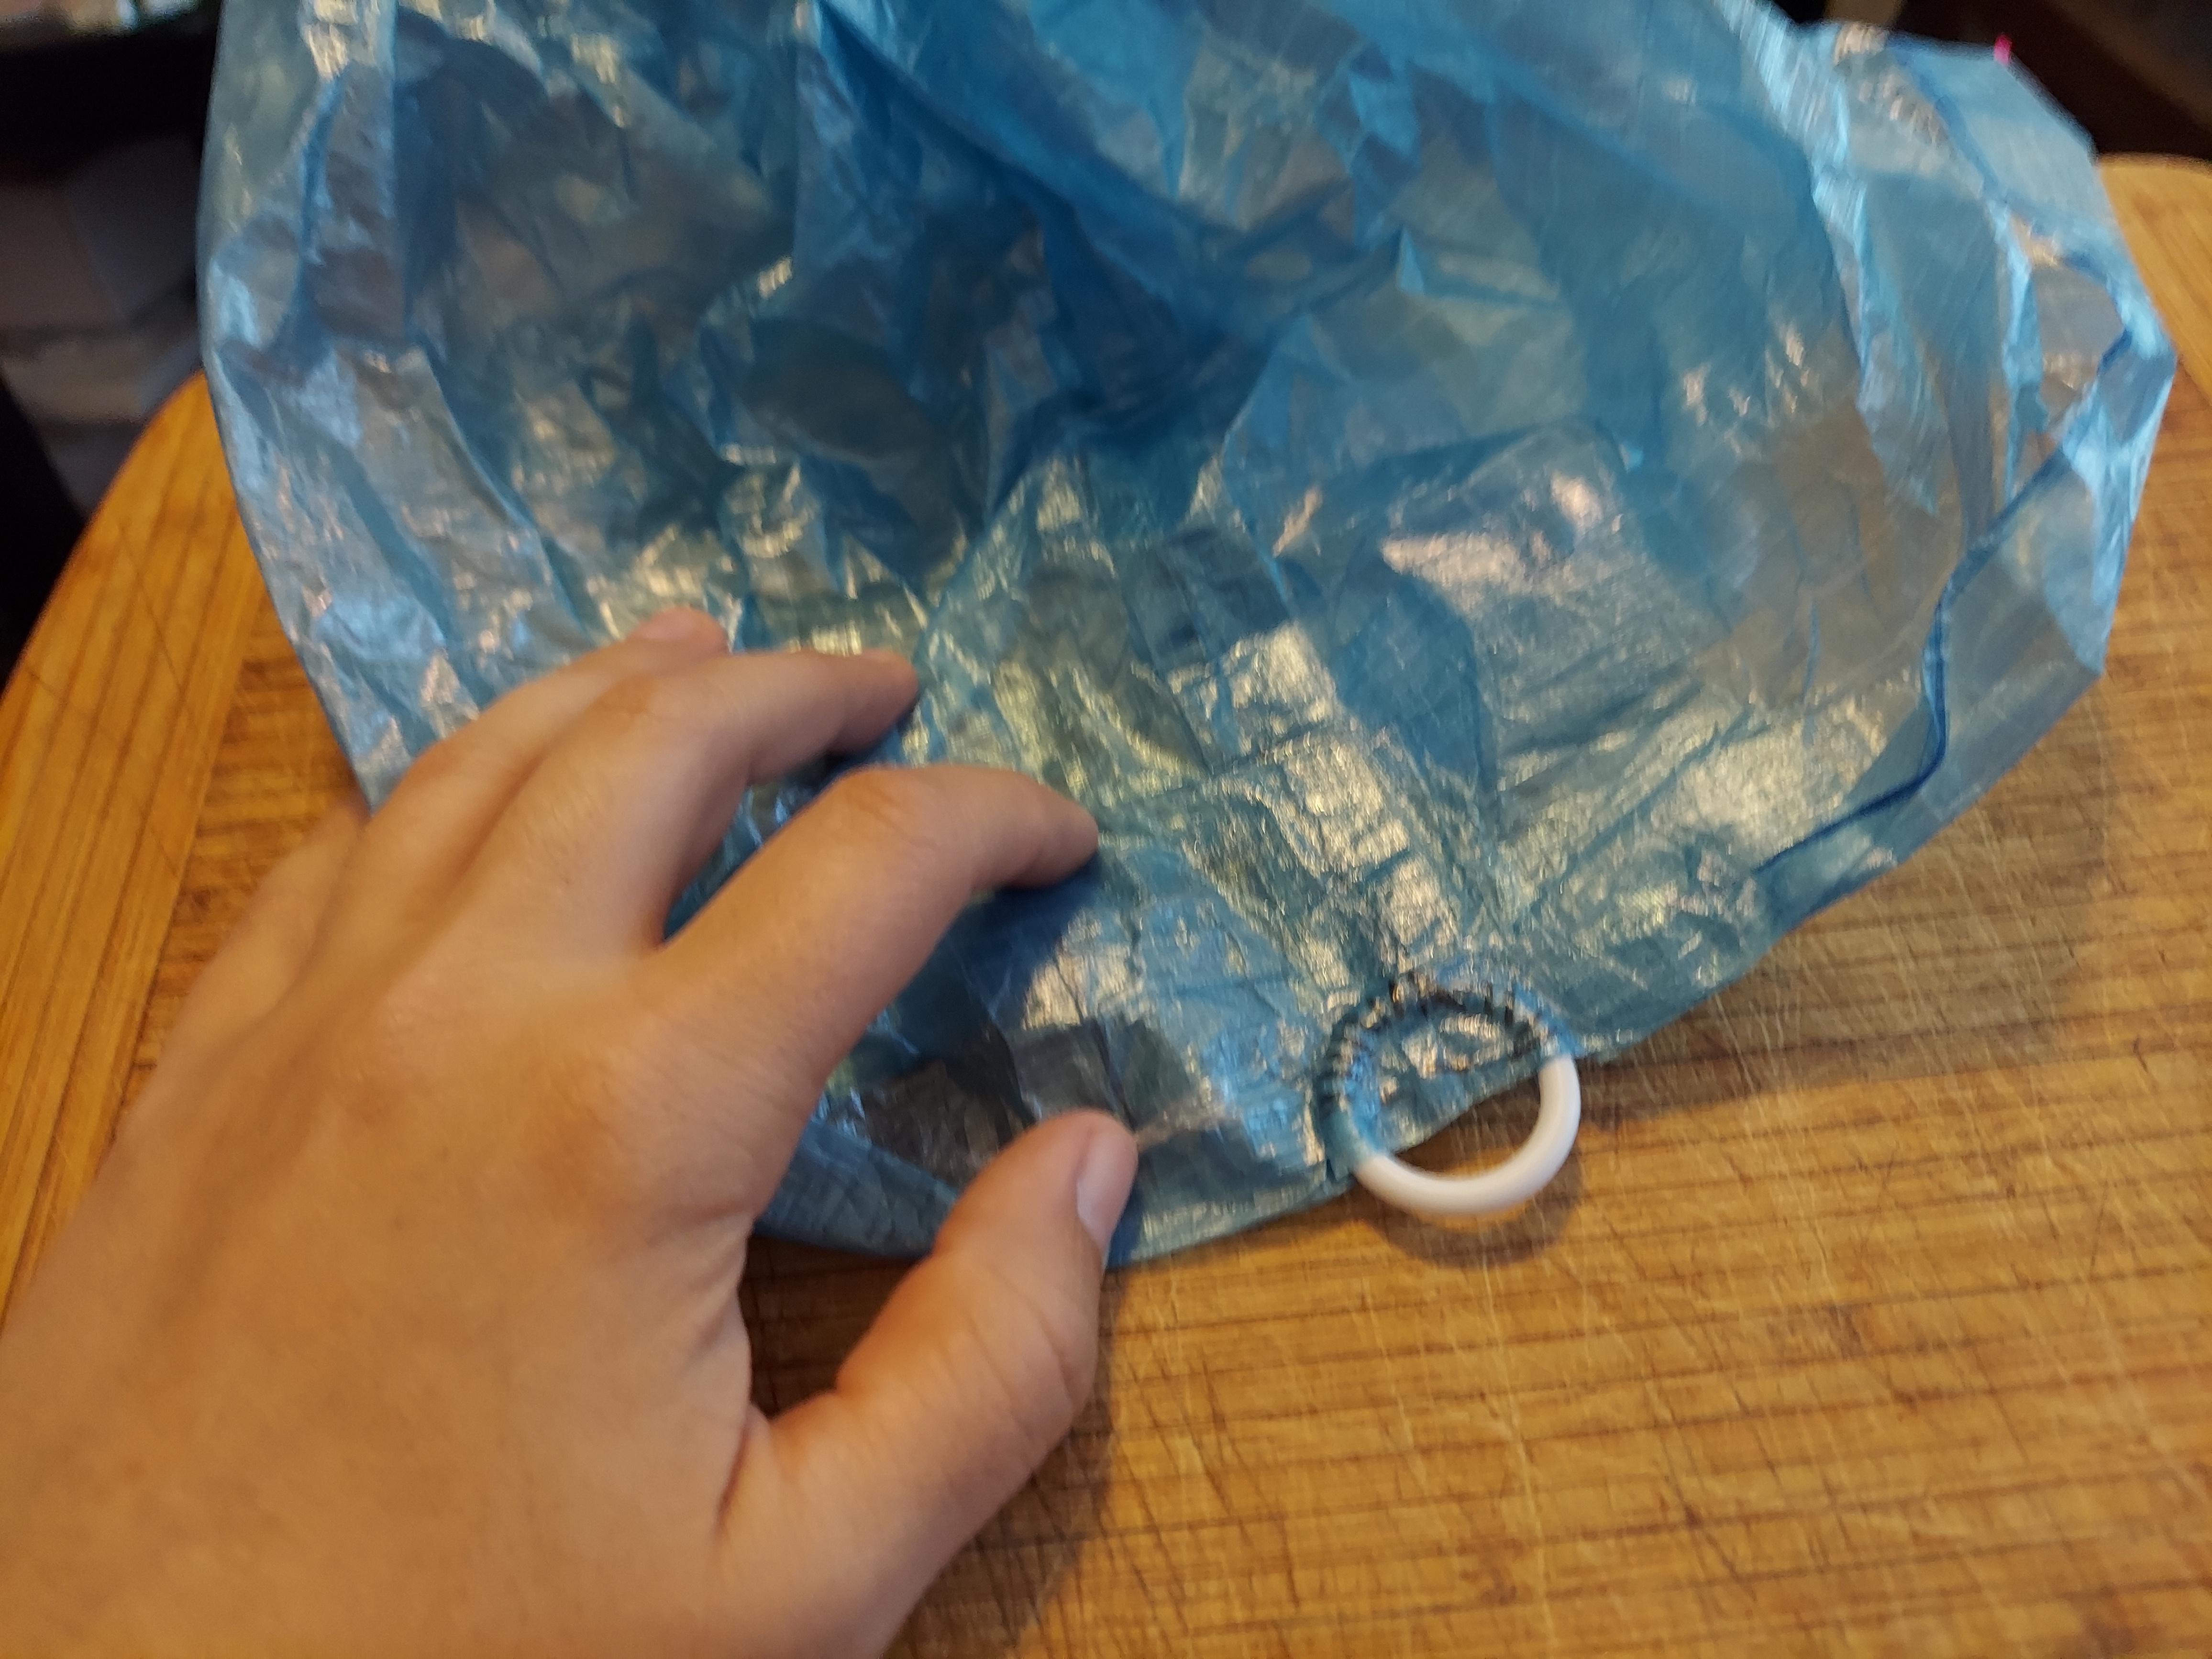
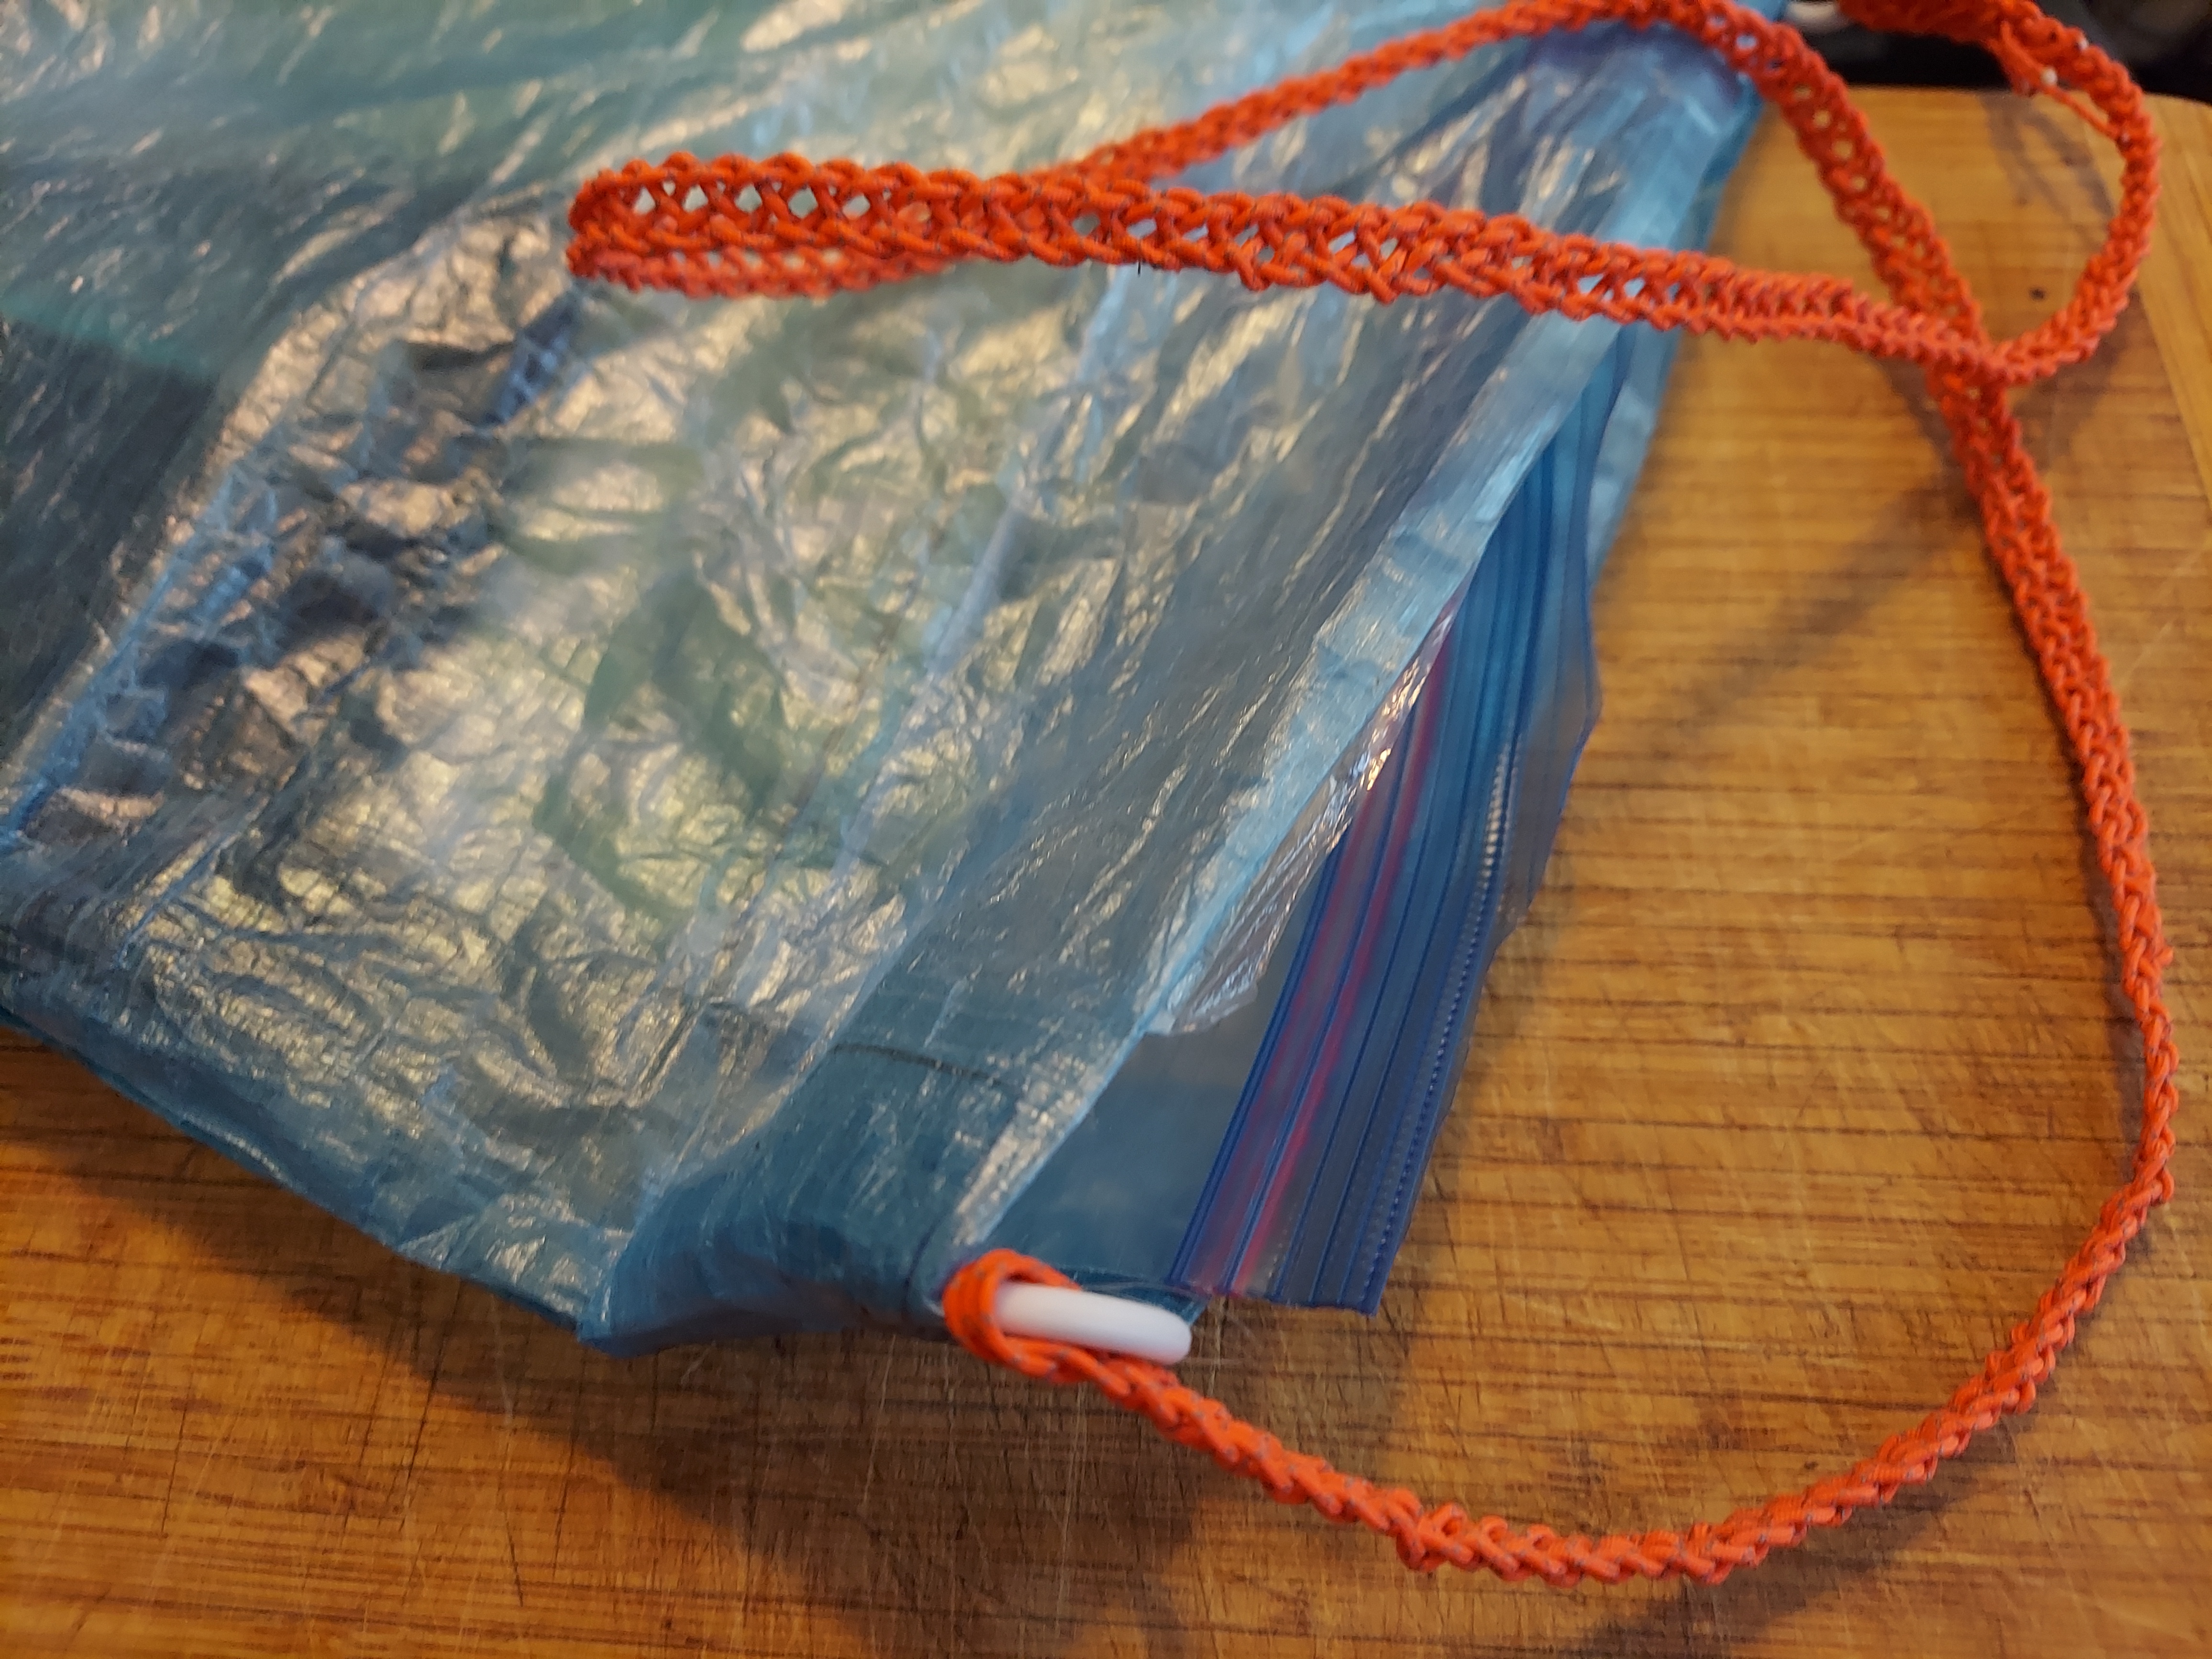
Sunday, I inverted it to add some tape reinforcement to the reverse side of the stitching first. Then it was time to attach some little plastic rings I got at Michael’s. I sewed the rings in on either side so I wouldn’t have to directly attach the strap to the Dyneema. Instead, the rings would serve as an anchor point for the strap I braided.
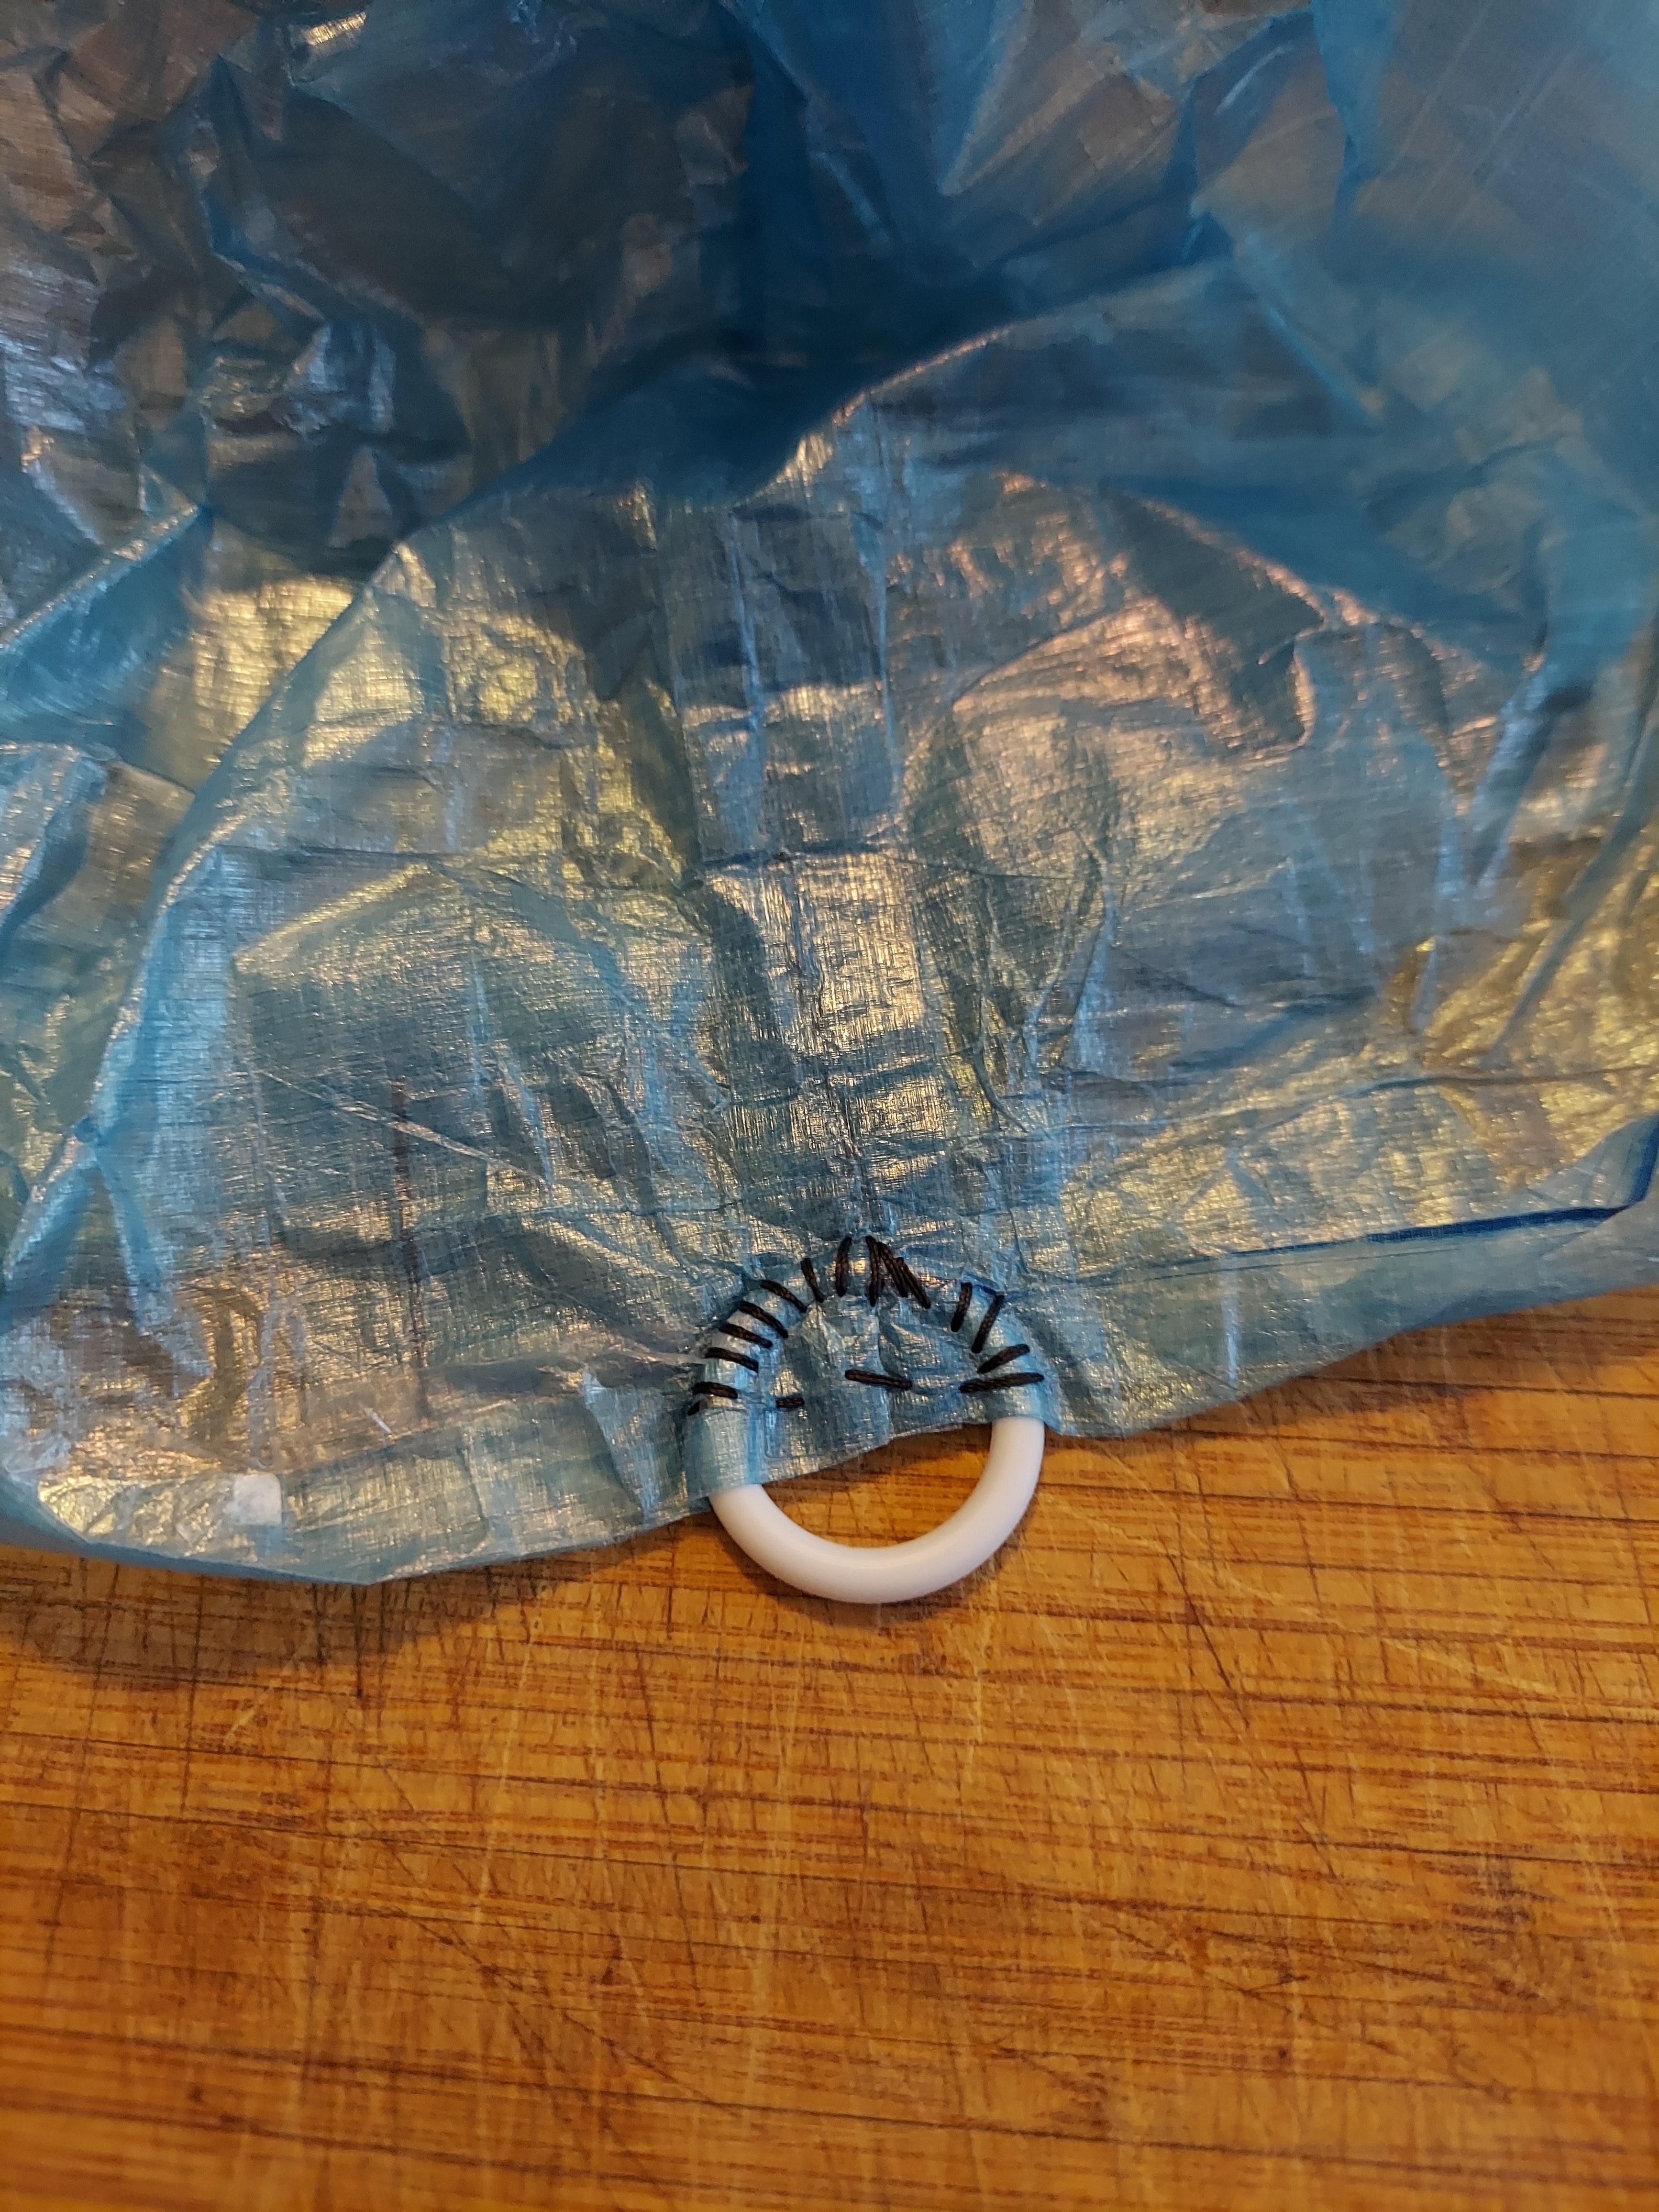 |
| All the stitches got a layer of tape on top. |
Well, technically, I braided the strap to the rings after I sewed them in. Made more sense that way. But before I did the strap, I needed to practice. I got some yarn down so I could get the hand of 1) doing a flat 6 stranded braid, and 2) get an idea of how long I needed that length to be before I cut my good cord. I am very glad I did it that way, because it took several frustrating tries before I got the hang of the braiding, and I’d rather mess up yarn than my lovely cord.
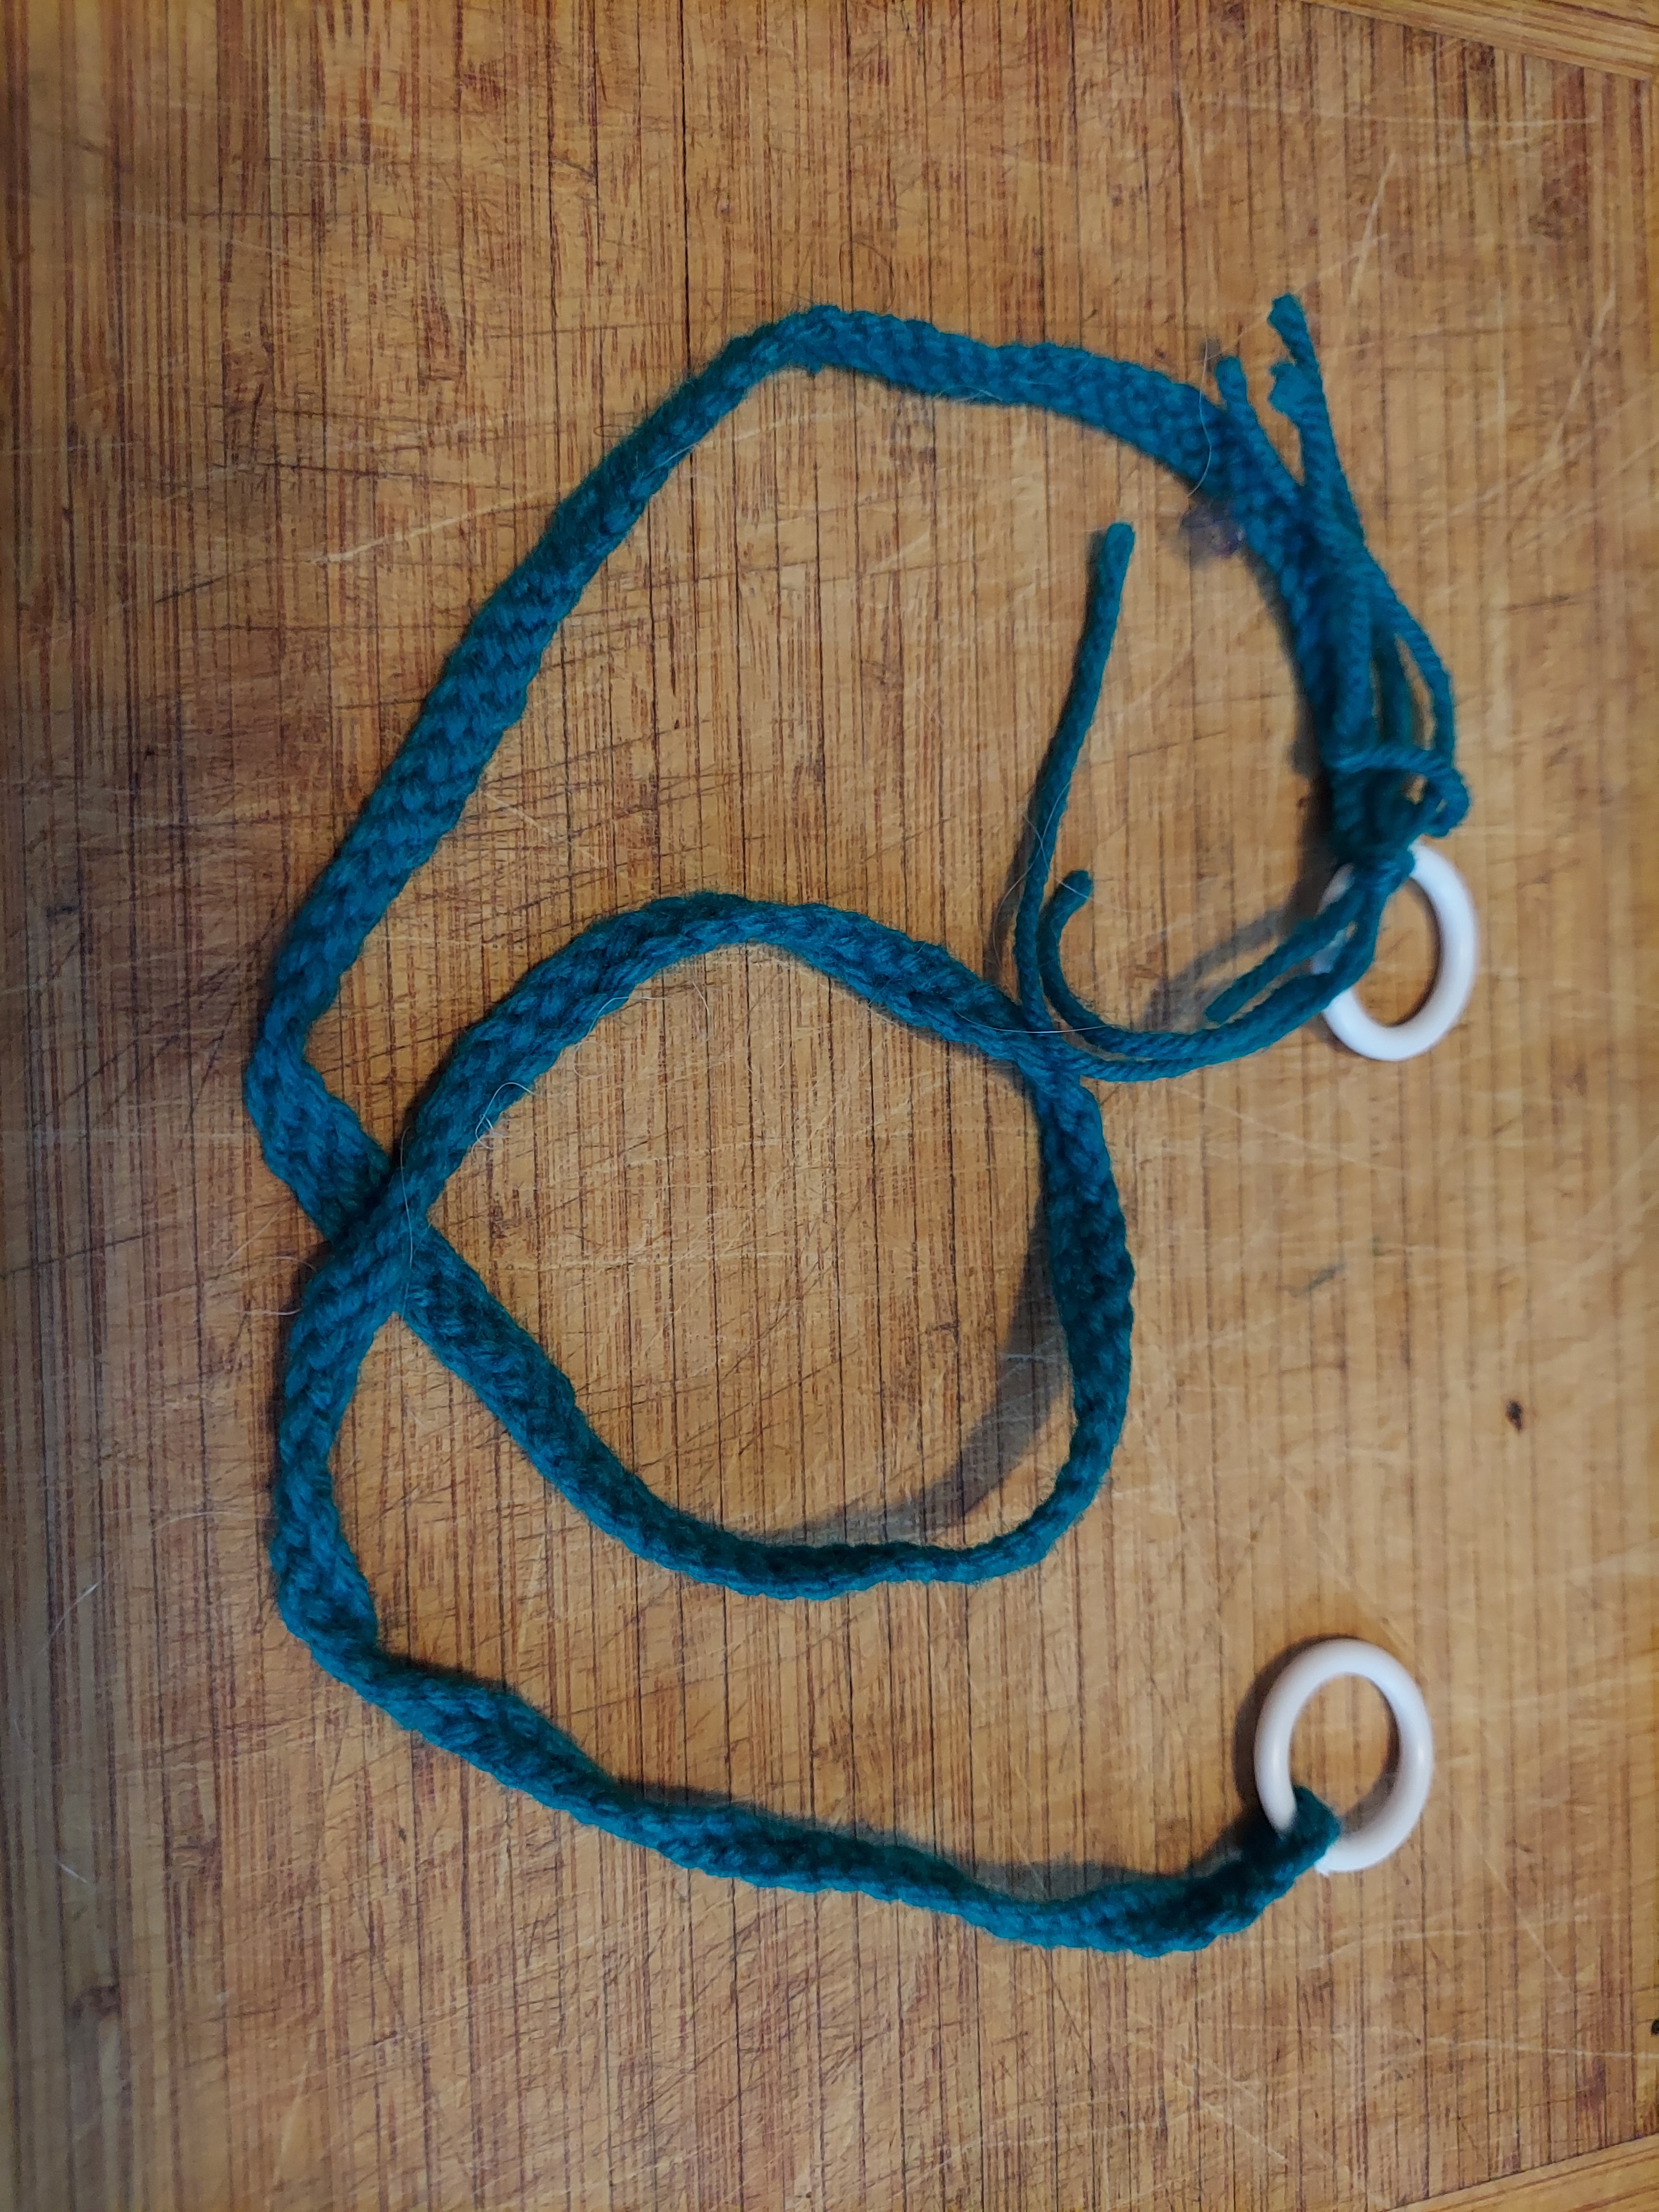 |
| The test braid. |
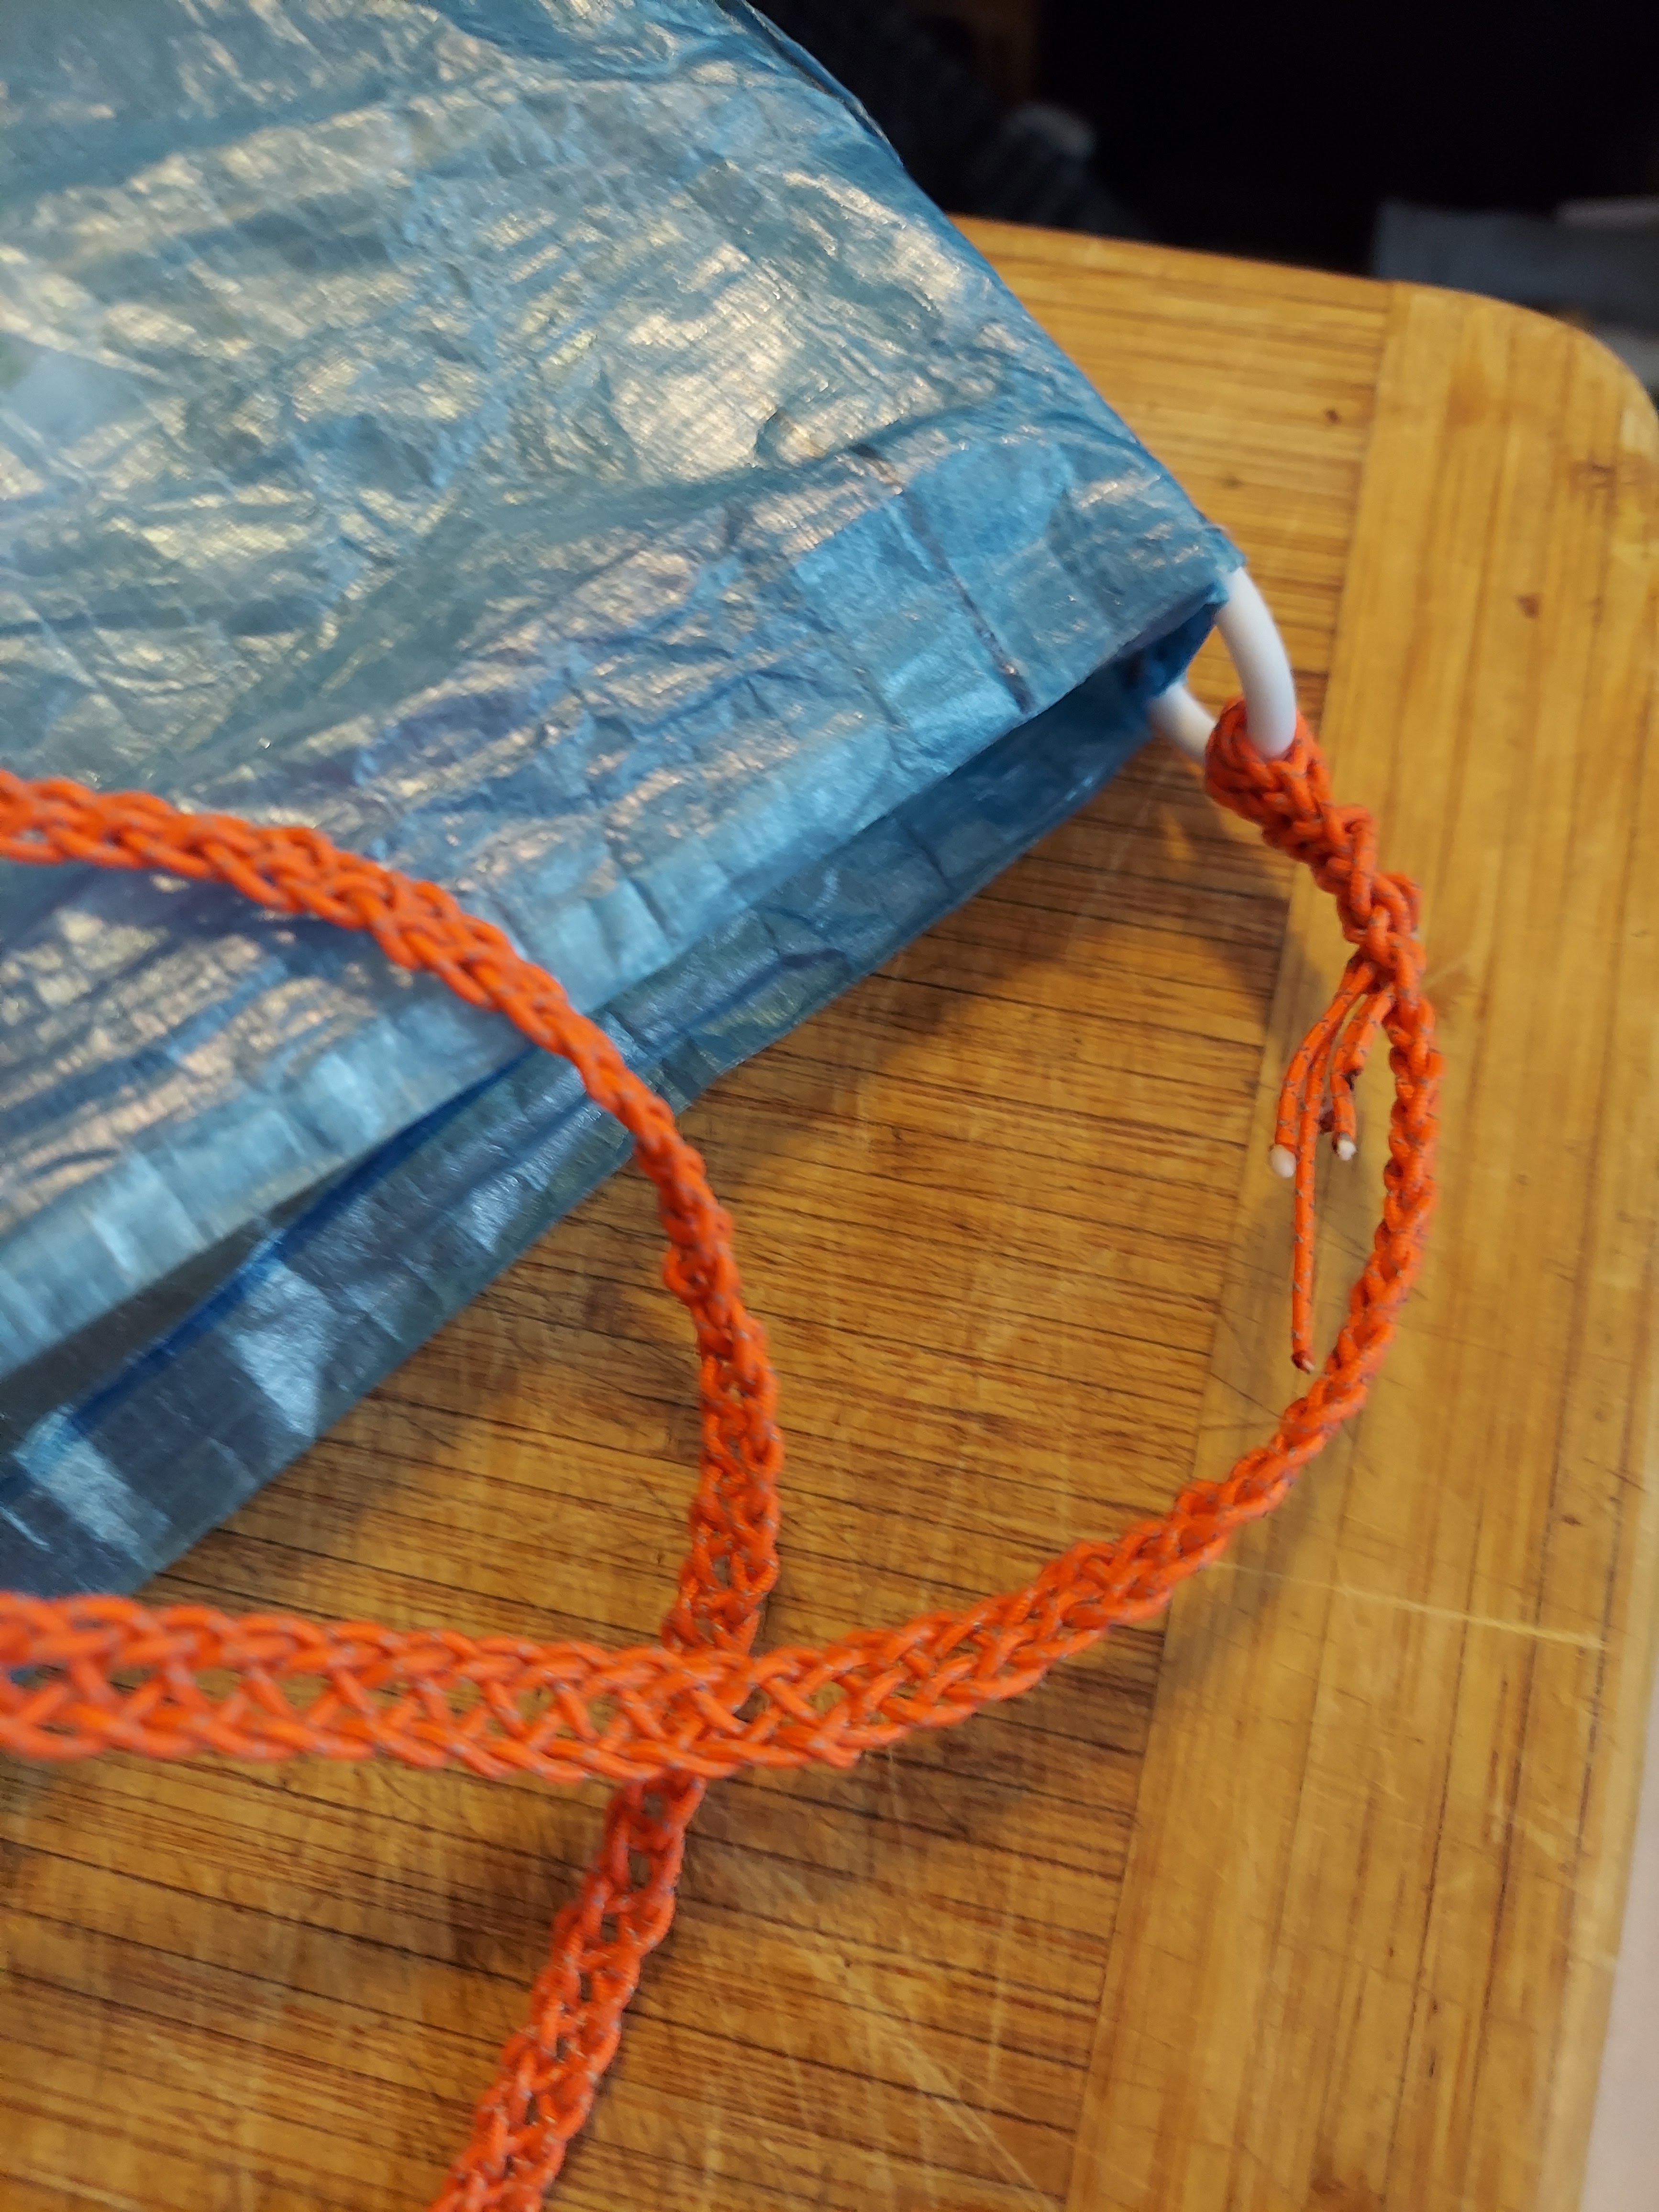
I’ve got all the cord braided on, and the length is good, but I wanted to finish it by weaving the ends of the strands back into the braid, and I can’t quite finish it with the tools that I have. The smallest crochet hook that I have is 4.25mm, and that’s just too big to pull through the braid. I’ve ordered another set of hooks that go down to 0.6mm and that should do the trick.
Overall, I’m very satisfied with the prototype. I like the colors, and it holds my old phone (aka the GPS), my Kindle and a set of maps quite nicely, with not too much pressure on the neck from the strap. I will be making at least one more, after I test this one in the field and see what it needs. But if I ever wanted to actually start making and selling these, I think I need to get a sewing machine. And to learn how to use it 🙂
 |
| Filled bag! |